30 Day Photo Challenge: Become a Better Photographer in One Month
This 30 day challenge challenges your creativity and grows your skill as a photographer and an artist. Here's how.
The problem with most photography challenges is that inspiration starts strong – but when life gets in the way, we tend to give up. This photo challenge will walk you through everything you need to know to become a good photographer in just 30 days.
When I work with new photographers who want to quickly become good photographers, this is my go-to recommend. The 30 day photo challenge doubles as a crash-course tailor made to understand and master light and shadow, composition, color theory, storytelling, and technical ability.
Gradually increasing in complexity and difficulty, the photo challenges throughout the month will push you to try all sort of new techniques and perspectives until you settle in to your shooting style.
The magic bullet of this photography challenge is that you get one 'freebie day' every week – whenever you want to use it. On this freebie day, you can take a photo of whatever you'd like – or, you can relax and not stress about taking a photo at all. We all need time to creatively recharge, after all.
So why does this 30 day photo challenge work so well? Most of us lose motivation to complete a photo challenge after we miss a day, and the apathy and guilt spirals from there. In giving yourself the freedom to miss a day, you don't feel as though you've messed up your progress. You'll get right back on the horse the next day – guaranteed!
So, are you ready to start?
Day 1: Take a Photo Inside Your House
The first day is all about learning the various ins and outs of your gear, and the low-light and tight corners of your house or apartment will push you to correctly compose and expose your photograph.
Creatively interpreting mundane surroundings is a coveted talent of the seasoned photographer, so consider this a test of your ability to see the boring and familiar in a new light.
The subject can be of anything you'd like. What's important today is to focus on finding the light and framing your subject within the limitations of your sensor and your focal length.
Day 2: Self Portrait Day
Easier said than done! This photo challenge can teach you about tripods, timed shutter, posing, and zone focusing – or autofocus points.
This can be a straightforward mirror selfie or a timed shutter of you posing on a stool, but you're encouraged to push yourself here: think about creating a more abstract image that represents who you are: what you like, what you dislike, what inspires you, or what scares you.
How far can you push the idea of a self portrait?
Day 3: Freebie Day
Congrats! You've made it this far. Use today to relax – or, if you'd like to shoot, just follow your inspiration.
Day 4: Exploring Hard Light
When photographers talk about 'hard light', they're describing small, bright light sources with no diffusion. Think of a sunny day at noon: the sun is high up in the sky, the daylight is washed out, and the shadows are deeply black.
This is a tricky light condition for many photographers, but it's best to lean in to the contrast of the scene. Play with the natural subject isolation of the lit parts of the image by dropping your exposure to expose only for the hard light – which will blacken the shadows.
Day 5: Exploring Soft Light
You guessed it – soft light is the opposite of hard right! Think about a sunny day versus a cloudy day: when the clouds block the sun, the light gets diffused, turning the small, direct sunlight in to a blanket of gentle glow.
Soft light will spread and soften shadows, reducing hard highlights. The gradient of light to dark is much more complex and subtle than with hard light, which can be used to your advantage.
Consider this photograph the second half of a diptych. For the creatively adept, this image could be the second half of the "Exploring Hard Light" challenge photograph. Can you creative a narrative of continuity – similar colors, themes, or subjects?
Day 6: Movement and Action
The concept of action is integral to a compelling photograph. But if photographs are still moments, how can you display movement?
There are a few ways: lowering your shutter speed to capture moving subject with motion blur, using strong leading lines to draw the eye and insinuate movement of your subjects, or freezing details like blowing hair or cloth in surreal ways to capture the energy of the scene.
Whatever movement you choose to photograph, make sure it's clear and impactful to the viewer.
Day 7: Recreate Your Favorite Painting or Photograph
The work of Edward Hopper has always hugely inspired my work. Do you have a favorite visual artist?
Try to emulate their style, down to a specific piece of work.
Day 8: Expressing a Mood Through Your Photograph
Today, you'll teach yourself the foundational creative process behind telling a story and conveying emotion through your images.
Pick a mood you're familiar with: joy, anxiety, boredom, sadness, or anger, to name a few.
Maybe a composition will come together naturally throughout your day. Maybe you have to stage it and light it yourself. Once you take the photo, ask a friend if they can guess which mood you chose.
Day 9: Portrait Photo
Hopefully, somebody in your family or circle of friends will be happy to get their photo taken. If not, what will you do – post on social media, or ask around your campus or office? Intimidating, right? Portrait photography can be uncomfortable and intimate, but that's how you learn!
For this challenge, pay special attention to lighting. For a traditionally flattering look, you'll want to employ soft light (remember Day 5?). Additionally, you'll want to pay attention to your subjects eyes – a catchlight is vital to give life to your subject. Not sure what a catchlight is? For that – and more tips on portrait photography – refer to this article on portrait photography do's and don'ts.
Day 10: Freebie Day
You're 1/3 of the way there, and probably starting to feel pretty good about your skills! You've learned about different types of light, you've shot in boring and cramped low-light conditions, you've lit and posed subjects, and you've expressed yourself creatively.
Take today to appreciate the lessons you've learned so far. If you'd like to take a photo, try attempting a past challenge and see if you can improve on your results.
Day 11: Reflections
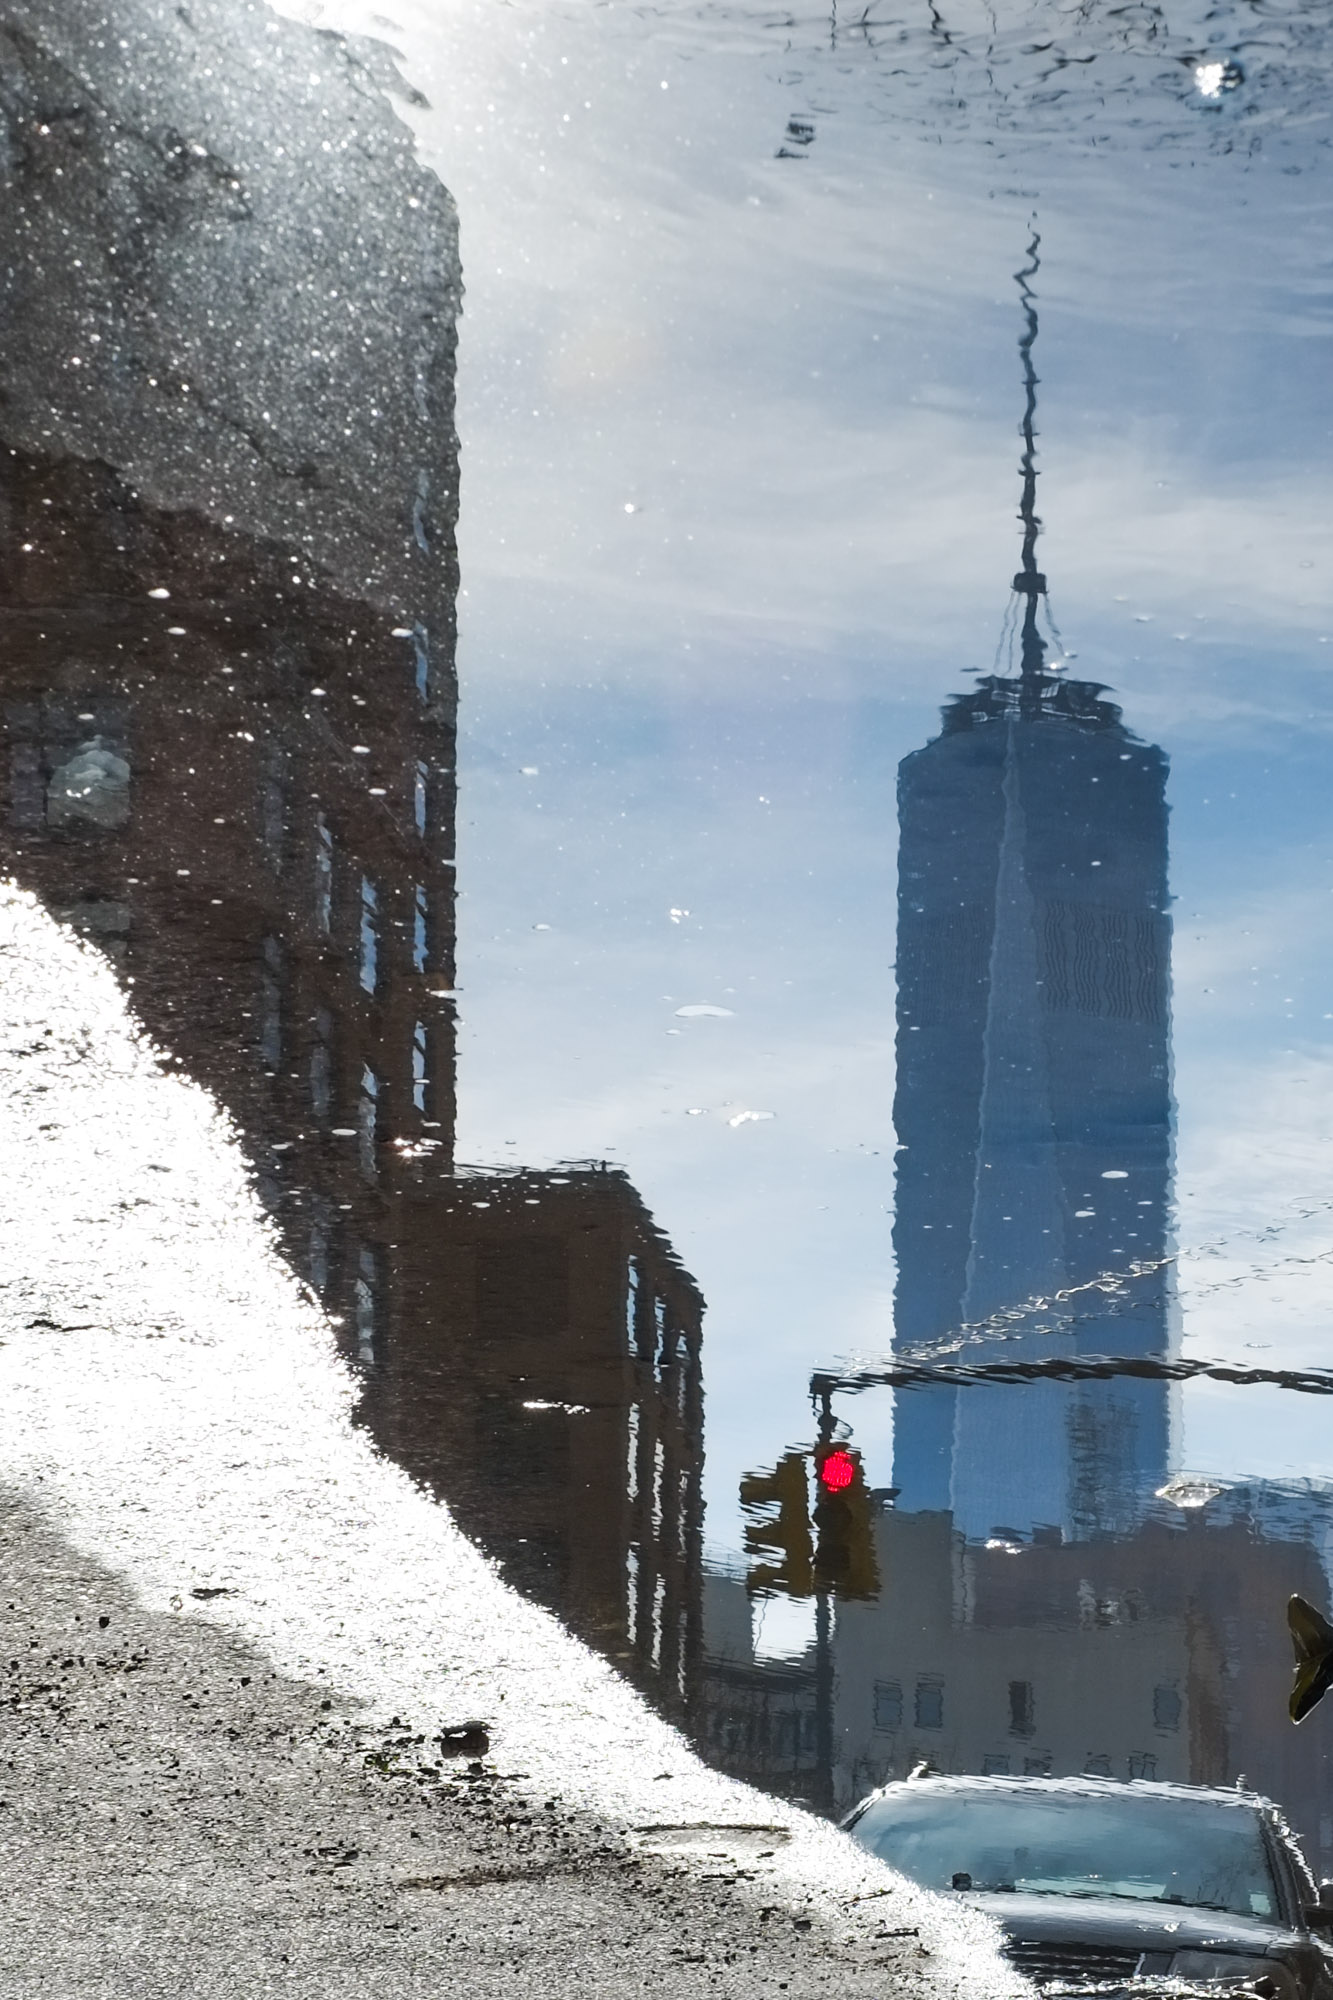
Every object has a specular value that determines its reflectivity. Some things – like cotton – are matte, while others – like glass or water – are glossy and bright.
Today, think creatively with reflective materials to compose a photograph where the main subject is actually a reflection of something else.
Day 12: Color Study
What's your favorite color?
For today's photo challenge, you'll compose a photograph that exemplifies that color.
Pay close attention to every color you include in your image: make it clear what your thesis color is, and allow only colors that will complement or contrast your thesis color into the frame.
Day 13: The Macro Perspective
If you don't have a macro lens – no worries. We're going to push the lens you've got to it's minimum focusing distance.
For this photo challenge, get as close as you possible can to your subject. You'll be able to explore textures and specular qualities you've never payed attention to before. The standard macro shot is of an insect or a flower, but try thinking outside the box.
Berries, pills, or body parts – the more surprising the result, the better!
Consider playing around with mist as a textural element to exaggerate texture and magnify your small subject. It's a neat trick that has some pretty useful applications.
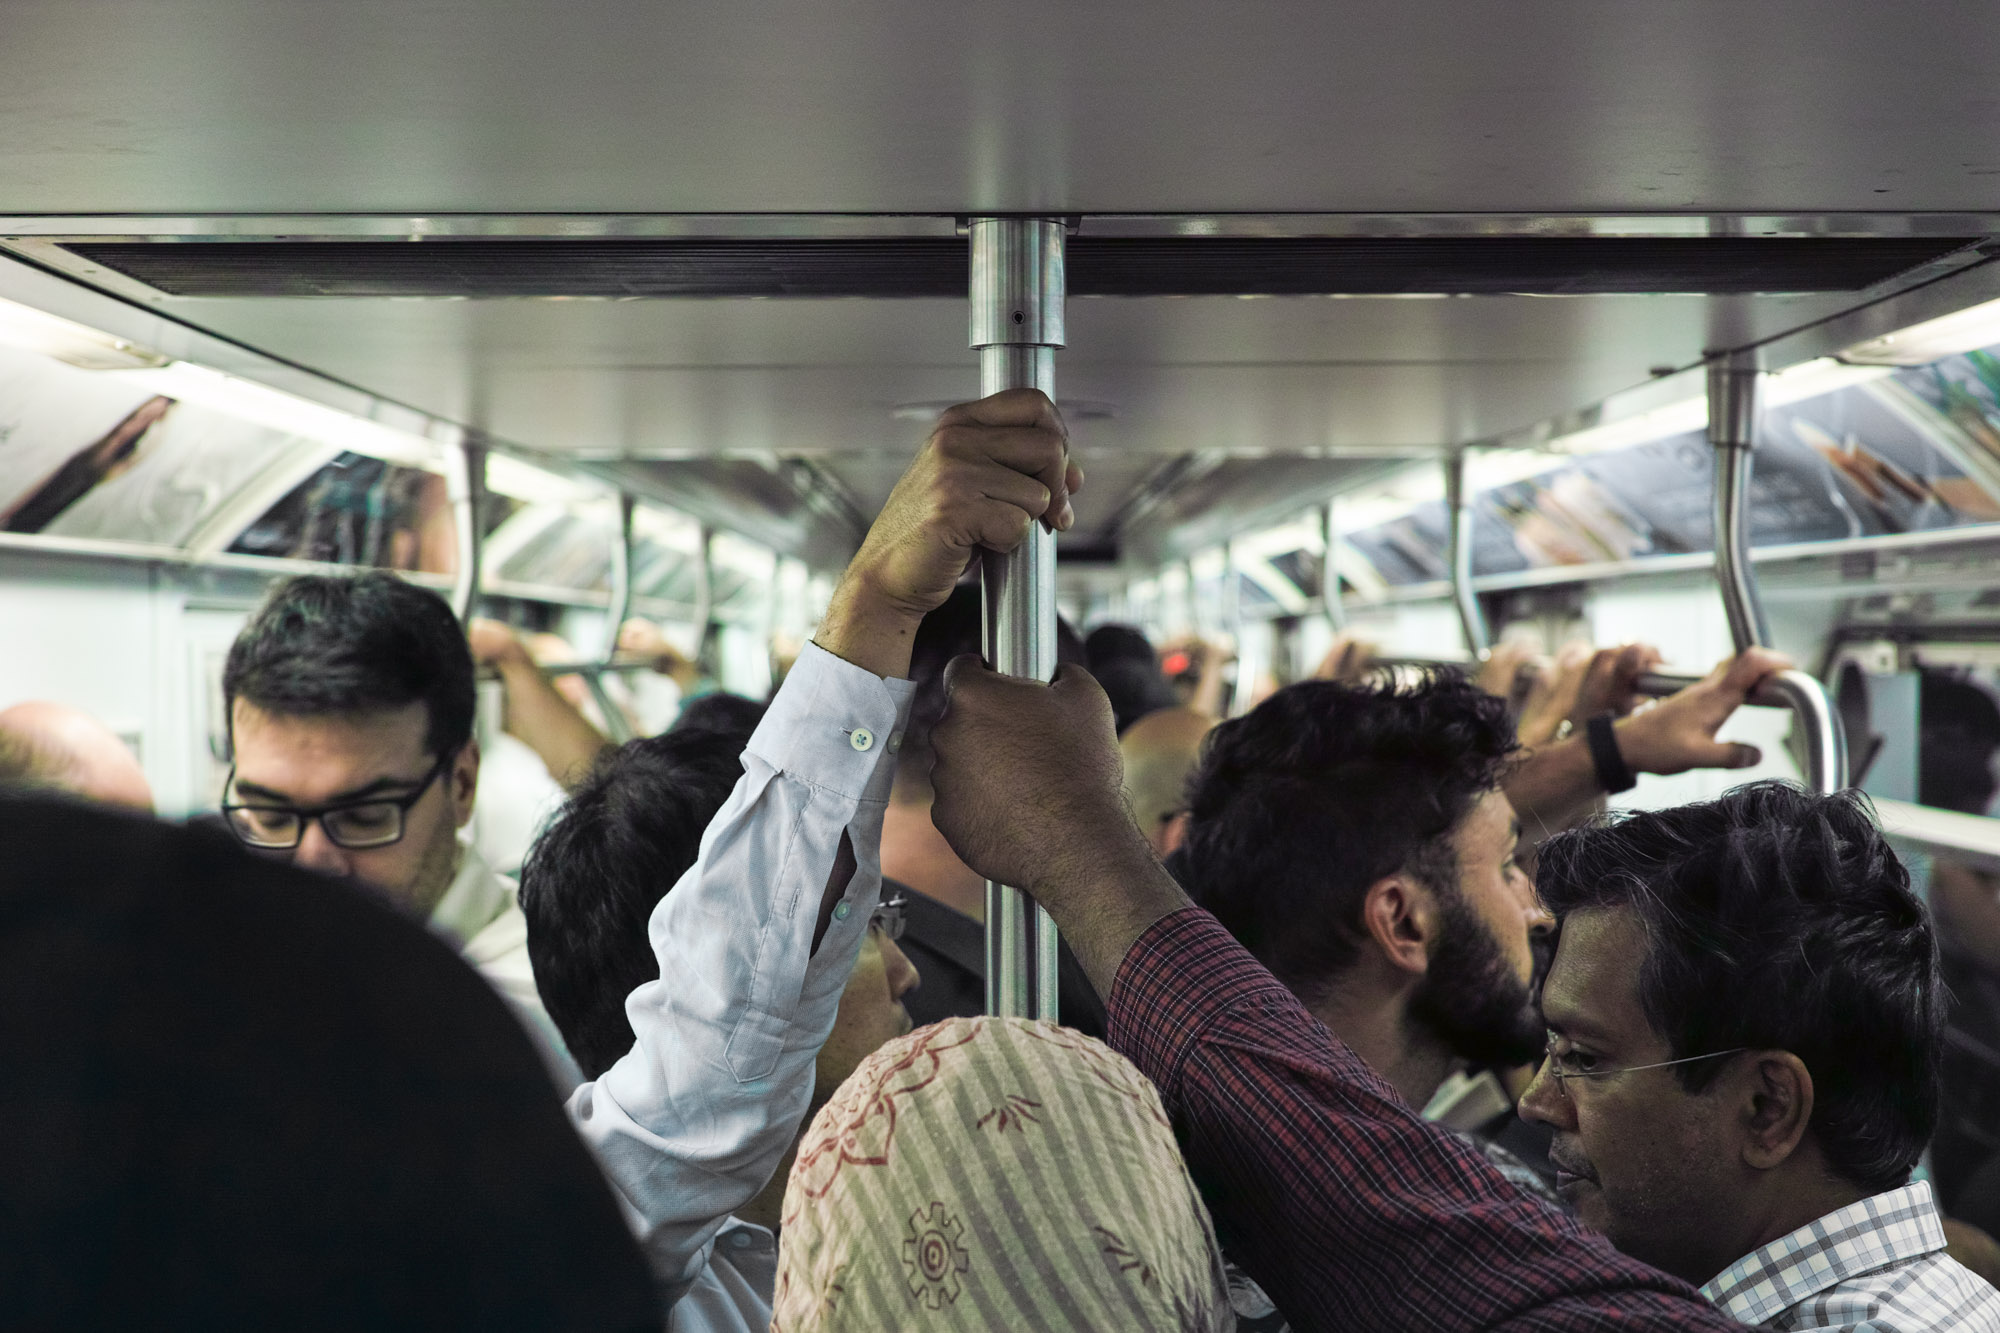
Day 14: Street Photography Excercise
Street photography is not for the faint of heart. There's a reason this photo challenge is day 14: you need confidence in your ability as a photographer to quickly nail a shot of an unsuspecting subject.
Today would be a good day to try out manual focusing – or even 'zone focusing' – for rapid-fire results. You can read all about zone focusing here.
Remember: the best street photography tells a story and expresses a point of view on the subject. Whatever you photograph, make sure it's thought provoking for the viewer.
Day 15: Product Photography Crash Course
Imagine that you've been hired by a company to shoot product images for their e-commerce website. How would you stage it? How would you light it?
You can use your shoes, clothes, camera gear, or kitchenware – the more challenging, the better!
In your photography career, you'll often have to make ugly things look good. This is never more true than in product photography. Do your best to create sellable images out of ordinary objects, and you'll succeed in this photo challenge.
Day 16: Wildlife
Wildlife and nature photography is a huge interest of the photography community, and it can pay very well if you're good at it.
Which makes sense: it's no easy feat to capture a well composed image of a wild animal – it requires patience, perfect technical ability, and a natural eye.
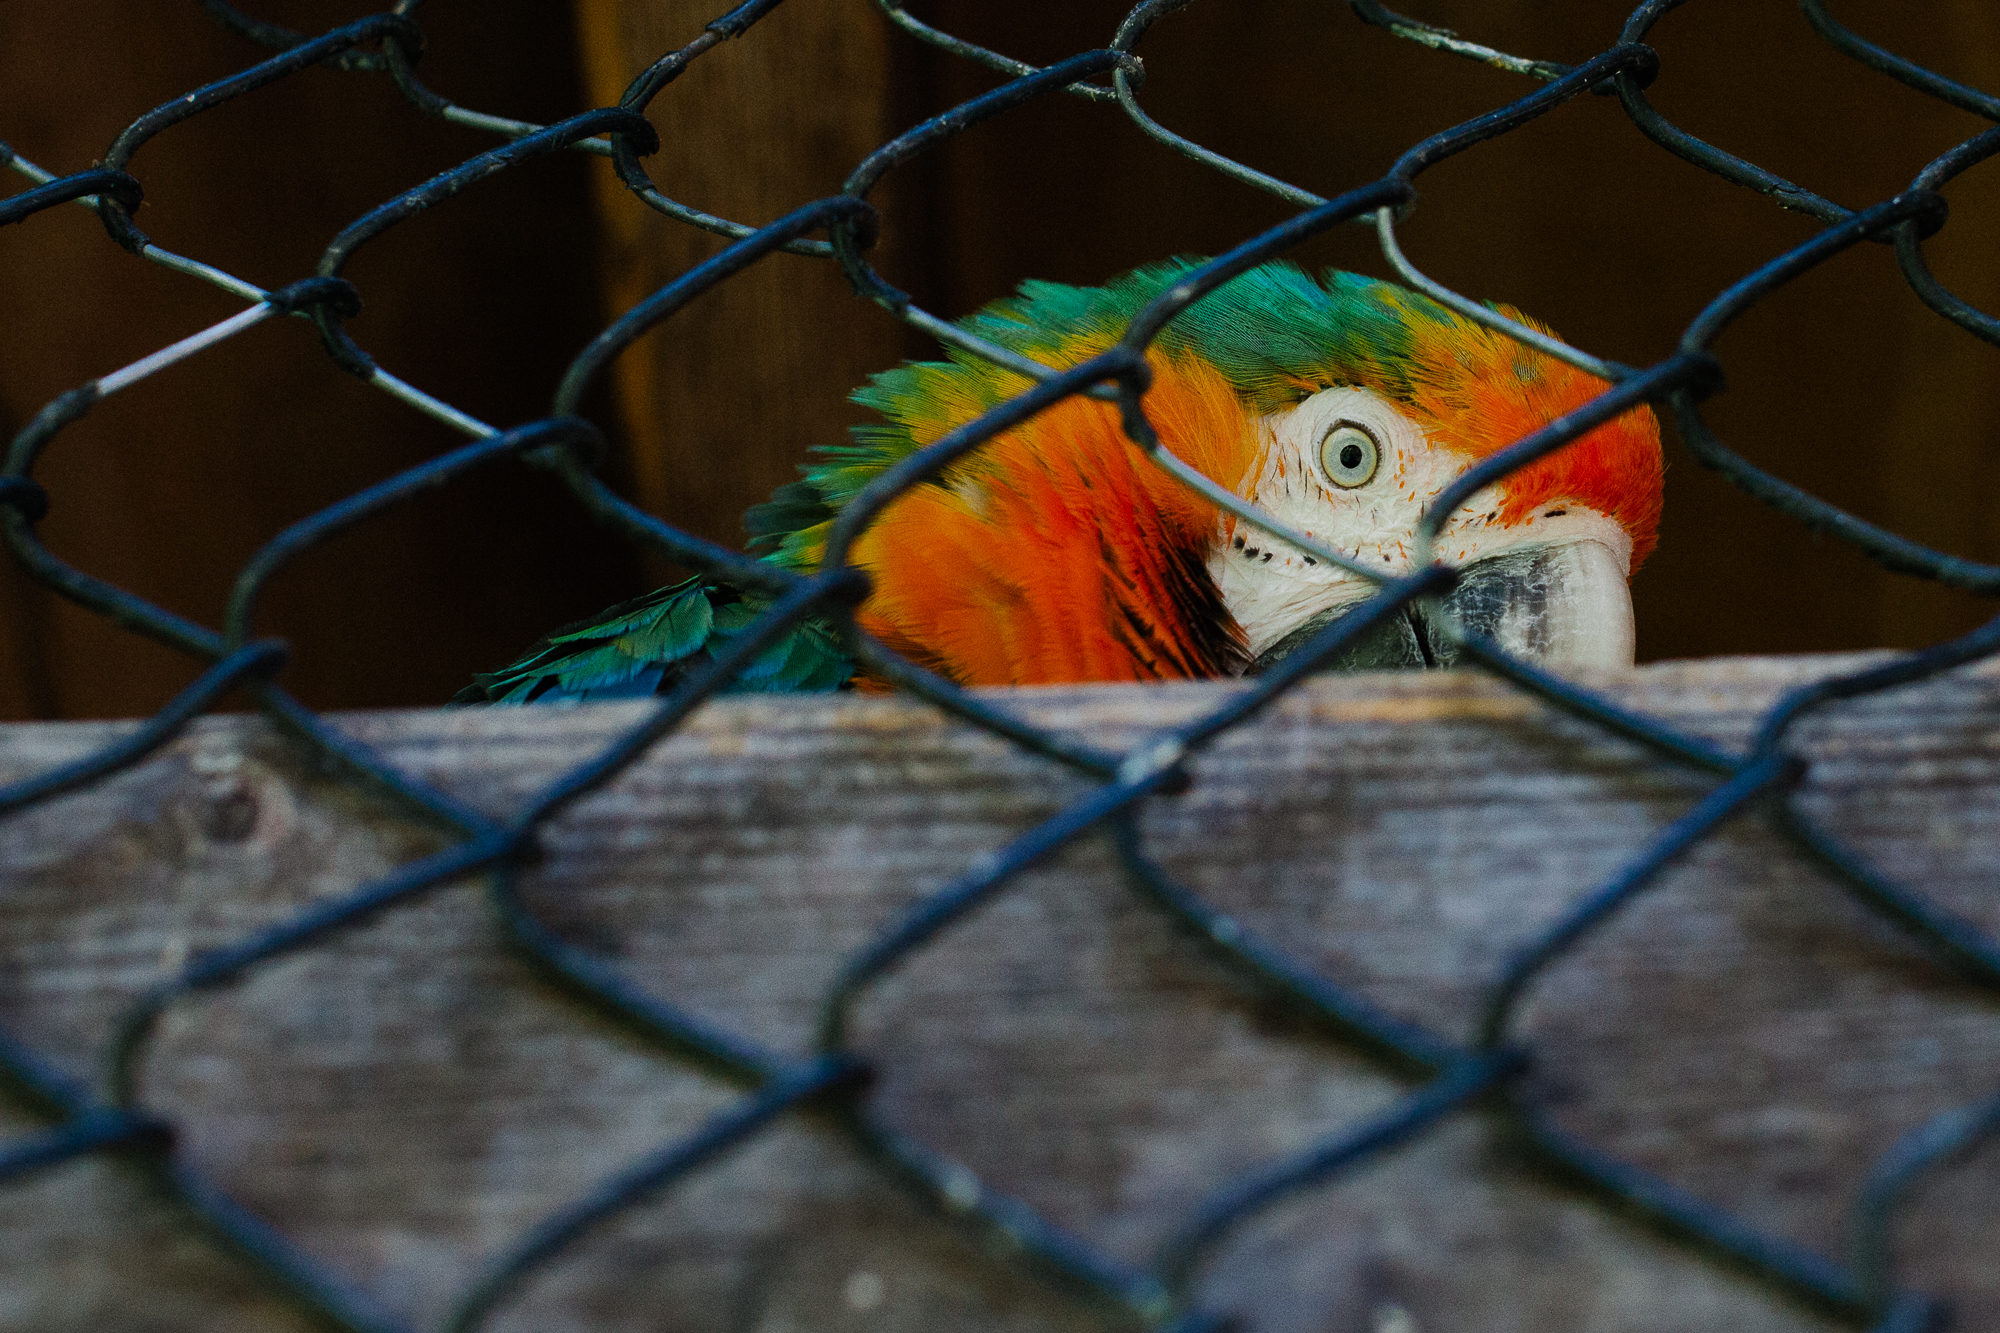
If you live in an area without much wildlife, consider going to a zoo or pet store. Perhaps you can tell a story by framing the animal within the fences and cages?
Day 17: Freebie Day
Another week down! You blew through some tricky photo challenges, so feel free to take the day to stay in and share your work on social media.
If you're feeling extra motivated, tackle a past challenge with your newly aqcuired skills.
Day 18: Mastering Artificial Light
Wait until the sun sets – or find a dark room – and get to work, because this will be a real challenge. Photography is all about light – so what will you do when you can't rely on the typical sources to light your photograph?
Whether it's an on-camera flash, radio-controlled speed light, projector, or hand-held flashlight, this photo challenge is all about creatively lighting your subject with specific intent.
Pay attention to the hardness/softness of the light as well as the color! Mixing two different artificial lights can be a striking contrast of color and texture – or it can look muddy and unintentional.
Day 19: Food Photography
Are you much of a chef? For this photo challenge, you'll be whipping up a meal and photographing it. Food photography is a segment of the industry in high-demand, and some photographers have a natural talent for it.
Will you use hard light or soft light? How will you contextualize the dish? Will you implement fresh herbs or vibrant veggies to balance the colors?
The goal, above all, is to make it look delicious!
Day 20: Nighttime
What will you do when the sun sets and the lights turn off?
This photo challenge isn't solved by a simple long exposure to brighten things up. How can you capture the essence of nighttime – the cool tones, the deep shadows, the mystery, the isolation – with your camera?
Think conceptually, and create an image that represents how the nighttime feels to you. You're welcome to use artificial light, as long as the mood is properly conveyed. Also, don't be afraid of ISO noise or camera shake. Sometimes technical imperfections can add to the emotion of a photograph.
Day 21: Capturing Fire
Can you use fire not only as a light source, but as the subject of your photograph?
Creating the fire is the easy part: a lighter, a match, a campfire, or even a stove top will do the trick.
You'll find that fire is one of the most difficult things to capture in an image. You'll need to experiment with shutter speeds and ISO to properly exposure your scene. Good luck – and don't burn yourself!
Day 22: Back Lighting
It's time for silhouettes and rim lighting!
This week, try placing your key light behind your subject without attempting to light the front side too much.
What shapes can you make with the silhouette? How much of the environment is properly exposed? How much visual interest is there in the rim light around your subject?
The late afternoon sun is an easy light source for this, but feel free to experiment with artificial light as well.
Day 23: The Rule of Odds
Today's photo challenge relies on a specific photographic and design principle called the "Rule of Odds".
The Rule of Odds suggests that an odd number of subjects in an image is more interesting than an even number. If you have more than one subject in your picture, it's recommended to recompose and include at least three subjects.
Today's challenge encourages you to maximize this rule to help you give a sense of balance and intention in busy or boring compositions. Try to see how far you can push the number of subjects before it starts to break down.
Day 24: Freebie Day
The home stretch! With 23 down and 7 to go, you should have a wealth of knowledge under your belt and some photos you're actually proud to show in your portfolio.
You know the drill – take a deserved break, or reshoot a past challenge. This will be your last freebie day, so use it wisely.
Day 25: Steam, Smoke, or Fog
Photographers use atmospheric elements like smoke or fog to diffuse light and create an ethereal mood. What kind of photograph can you create that would be improved by the addition of steam, smoke, or fog?
If you don't have access to natural fog, smoke bombs (although they're only $5 on Amazon), a campfire, or a fog machine, try making steam on your stovetop, with your shower, or using a humidifier.
Day 26: Perfect Symmetry
Without using reflective elements, how much symmetry can you achieve in your photograph?
Symmetry is a visual hook for your viewers that does especially well on condensed viewing platforms like Instagram.
Architecture is a good option for this photo challenge, but you can also incorporate more organic elements for a bigger impact: perhaps a tightly framed pair of lips, two people lying side by side, or some pigeons fighting over a piece of bread?
Day 27: Isolate Movement with Motion Blur
Huh? Isolating movement with motion blur? It's called 'panning', and it's a fabulous trick to have in your arsenal.
The next time a car or bicyclists passes you, slow your shutter speed down to 1/60 or 1/30 and pan the camera at the same speed as your subject. When done correctly, your subject will be frozen and perfectly in focus, while the background of your composition will be abstracted in to motion blur.
Don't be too hard on yourself when you don't get it right away. It takes some time to master this technique, but your effort will pay off.
Day 28: The Outrun Aesthetic
Not familiar with Outrun? It's a popular look that combines neon, '80s futurism, geometry, and technology – you can find some concrete examples here.
The strong colors in the Outrun aesthetic are magenta and cyan – quite a rare combination in the natural world. How will you create this look?
Some tips: rain makes dark surfaces extra reflective and glossy. Neon signs can give you the color palette you're looking for.
Day 29: Forced Perspective
Objects closer to the lens look larger. Objects farther from the lens look smaller. Is this a visual trick you can exploit?
For your second to last challenge, you'll create a scene with a surrealist spin: artificially enlarge (or minimize) an object in context with another object to give your viewer the sense that they're of similar sizes.
Just a hint – you'll probably want a very large aperture – to the tune of f/8 or even f/16 – to get everything in focus.
Day 30: Self Portrait Day – the Redux
Let's see how far you've come!
Harkening all the way back to your third day on the photo challenge, employ all the lessons you've learned to create a self portrait with creative compositional elements: reflection, shadows, color theory, movement, and more.


