

How to Store Camera and Lenses at Home (and Keep Your Resale Value High)
It’s much more fun to buy shiny new toys than to think about how to properly care for them. But if you’re already invested in your arsenal of gear, you owe it to yourself to learn how to store your camera and lenses – before your lenses lock up on a shoot or your resale value plummets.
To learn how to protect your gear, you have to understand what you’re protecting it from.
The biggest danger to your camera bodies and lenses come come from two things: blunt force (think dropping, smashing, cracking) and humidity.
Solving the first issue is easy enough: whether at home or on the go, it’s worth investing in a protective camera bag and a neck or hand strap. If you’re not sure what to pick up, read through our article on the best camera bags. For now, let’s just assume you’re covered on the basics.
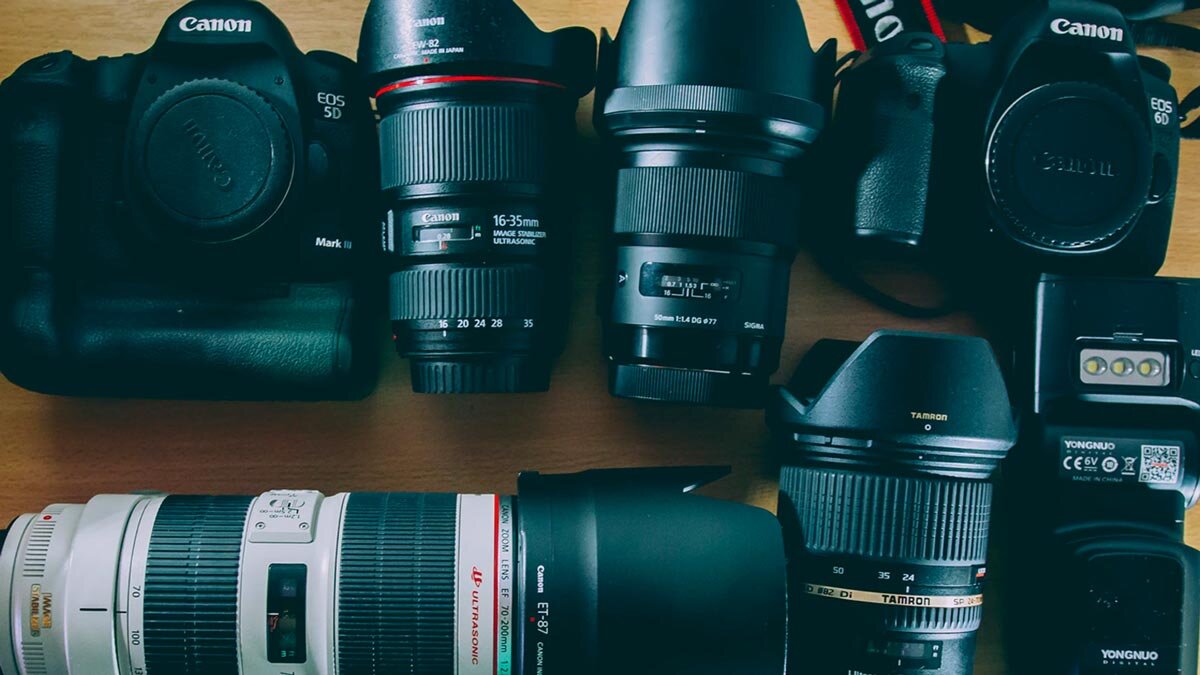
DIY Hacks for Storing Your Lenses
Before we move on: if you’re not looking to invest in any new equipment to keep your camera equipment safe, there are still some things you can do to keep your lenses in decent shape. Let’s breeze through these best practices:
Store them front-element-side-down.
This will minimize the presence of oil in your aperture blades (which can really gum up the works when you try to change your aperture in the future). This has become less of a necessity with modern autofocus lenses that use less oil in their manufacturing, but it’s better to be safe than sorry.
Close aperture rings to the smallest f-stop to reduce tension on the springs.
The springs in your lenses, like any other springs, fatigue over time. To keep your lenses like-new, set them to their smallest aperture (in other words, the highest number on your lens) when you store them. If your lens doesn’t support manual aperture adjustments, just close up the aperture using your camera body before you turn it off.
Why Humidity is the Camera and Lens Killer
If you’re only here to skim this article, here’s what you need to know: don’t store your camera or lenses in a place that can store moisture. Ideally, your storage space is air-tight and dry.
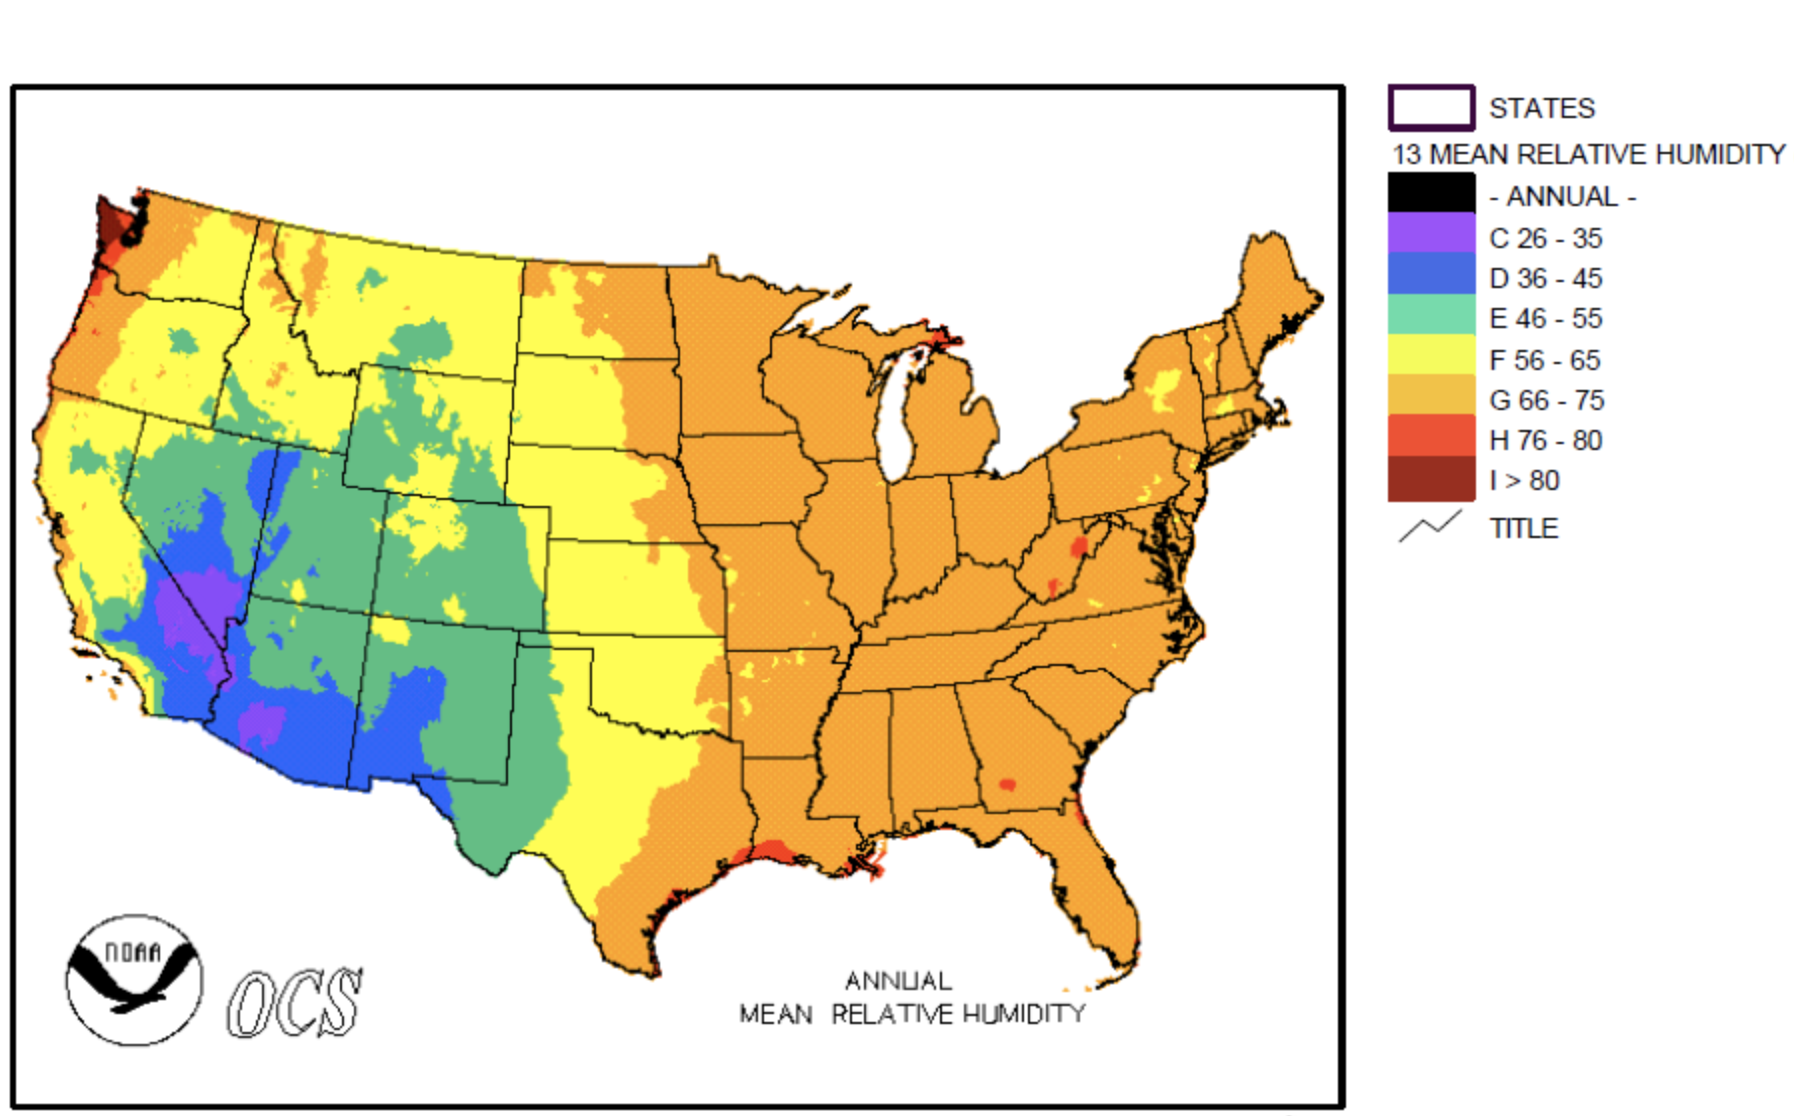
Even in the United States, where we tend to think less about humidity and moisture levels than somewhere in the tropics, humidity levels are significant enough to do real damage to your sensitive and calibrated camera equipment.
It’s worth reading The Wandering Lens’s writeup on the effects of extreme temperature and humidity.
Humidity can cling your camera sensor (RIP), fog up your lenses, short electronic circuitry… in worst case scenarios, it’s no laughing matter. Even in moderate climates, the dew point can climb unexpectedly, creating a breeding ground for mold and fungus.
It’s certainly possible to go years of poor storage practices without seeing any ill effects from fluctuating temperatures and humidity, but eventually, mold and fungus will show up.
So how can you combat humidity, particularly in long-term storage?
Depending on your budget and the amount of gear you have, your solution can look like plastic bins and silica tablets. That’s the bare minimum you should have already, but if you’re more than $500 in to your gear, it’s time to take storage more seriously.
You should also beware of cases and sleeves that worsen humidity. For example, leather lens cases that come in the box from most manufacturers may look beautiful, but they’re functionally useless. Not only do they offer minimal impact protection, but the material draws in a significant amount of moisture. After a few months of storage, you might find the unwelcome surprise of a foggy front element. Just like that, you’ve got mold.
But if you’re serious about protecting your gear, read on.
The Professional Solution for Camera Equipment Storage: Dry Cabinets
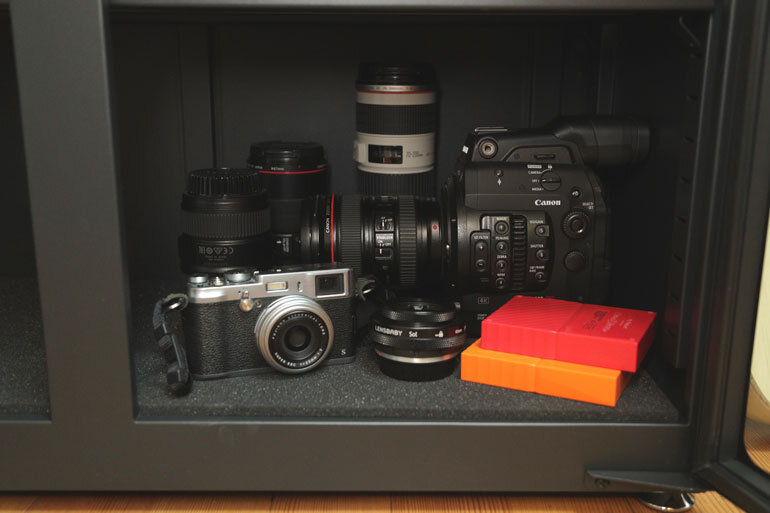
img courtesy of DigitalFilmmaker.
Hobbyists and amateurs should be fine with the above tips. If you haven’t already invested in your gear and you aren’t planning on reselling, you probably don’t need to worry about the optimum way to store your camera equipment.
For the rest of us – myself included, who has well over $10,000 dollars in camera gear sitting unused in my house – it’s important to think of our gear as financial assets. It’s not only imperative to ensure the equipment stays working and in top form for our own shoots, it’s just as important to preserve the resale value of your gear so that you can upgrade frequently and stay on the top of your game.
If the above sounds like you, you’re going to want what’s called a “dry cabinet dehumidifier” — a temperature controlled, dehumidified, air-tight, electronic cabinet (and in many cases, complete with locking systems).
Dry cabinets come in anywhere between $200 to $700 dollars — in most cases, cheaper than a single lens or body. In other words, it’s an essential purchase for the serious photographer.
I’ve tried many dry cabinets, and my recommendation comes down to one brand.
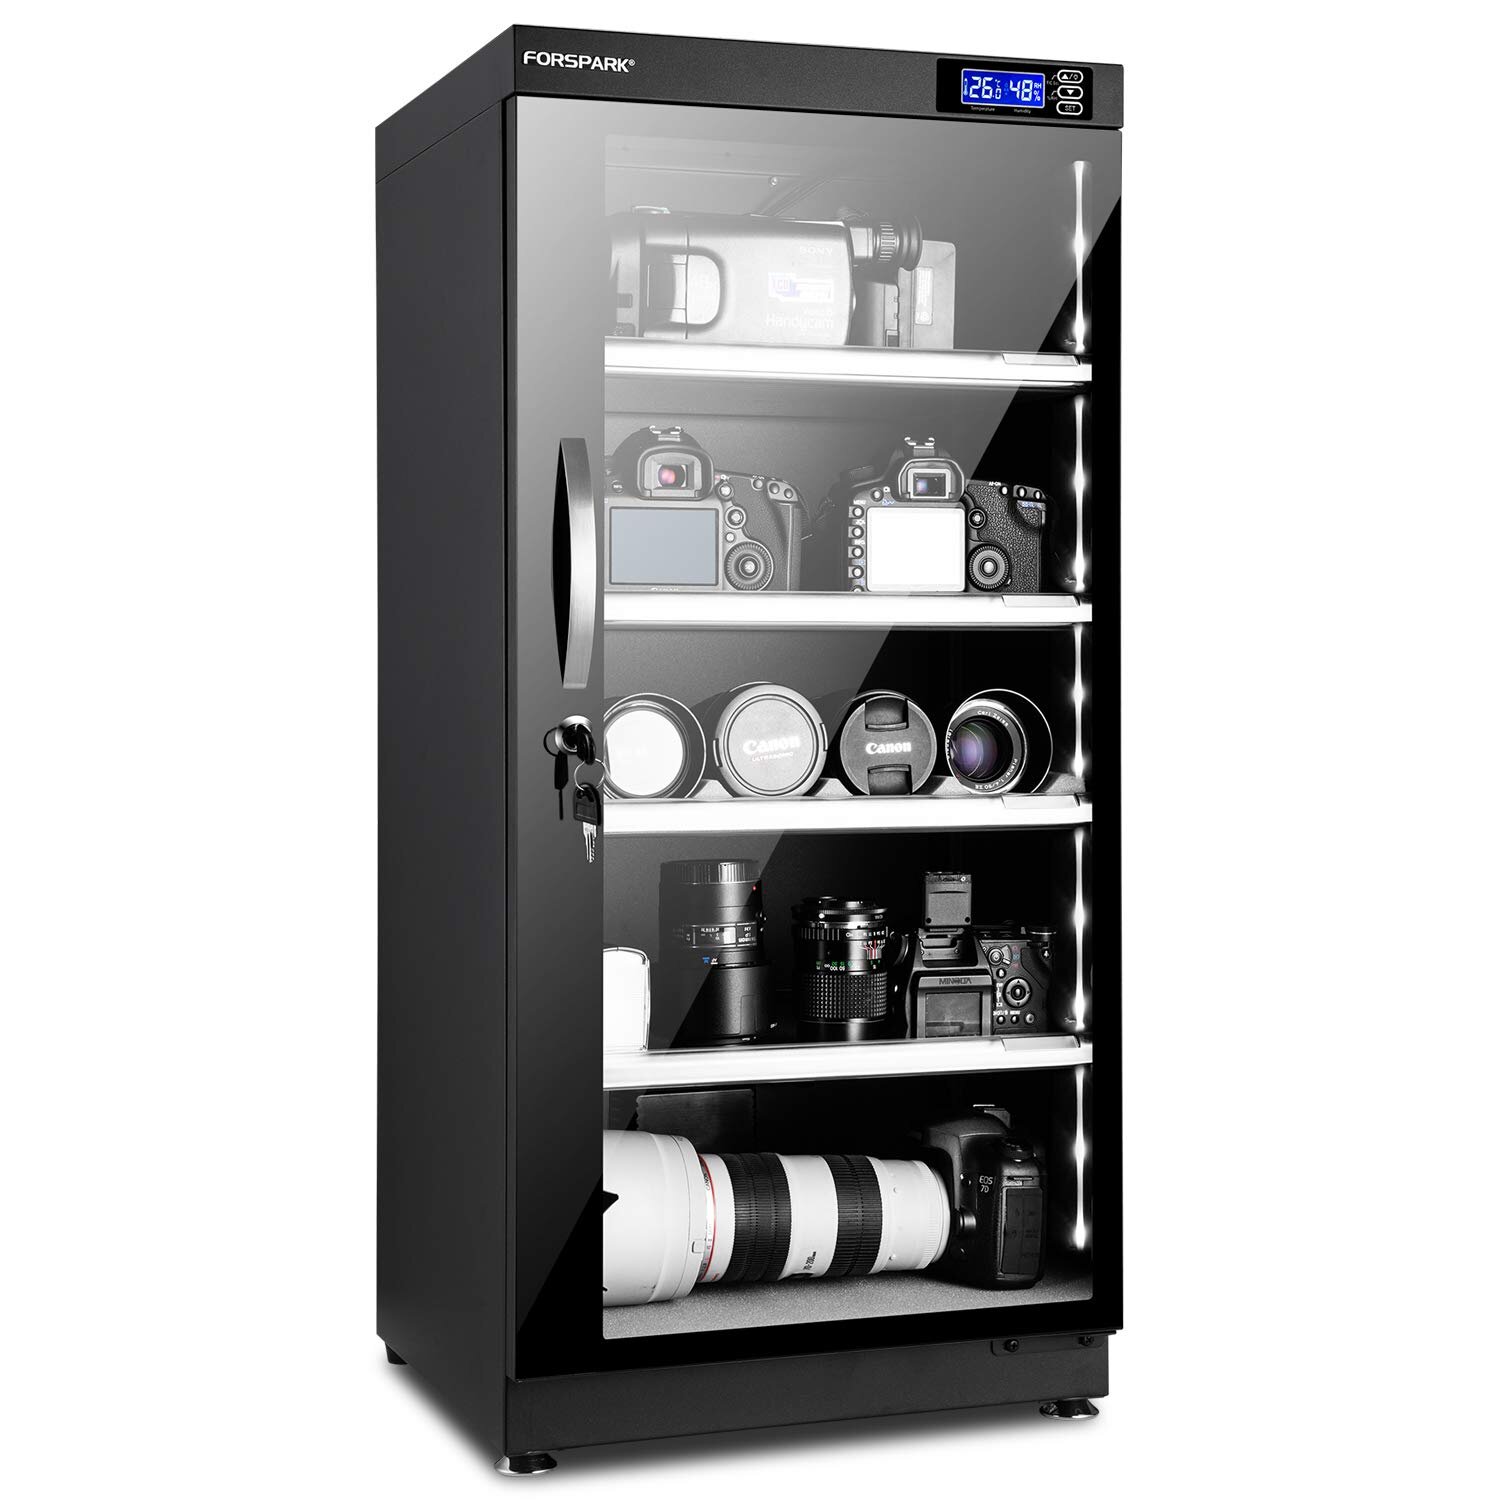
Best Dry Cabinet Dehumidifier: FORSPARK
FORSPARK dry cabinet dehumidifiers come in many sizes, from a petite 30L all the way up to 125L. They all come stocked with similar features: temperature control, humidity control, key-locked — and FORSPARK’s propriety rapid dehumidifying technology, which edges it out over the many knock-offs.
Their closest competitor, Ruggard, produce quality products as well — but I’ve had great customer service experiences with FORSPARK, which is important when it comes to long-term use cases like a dry cabinet (though I do prefer the look of Ruggard dry cabinets!)
There are two sweet spots in the lineup in terms of value-for-the-money and practicality
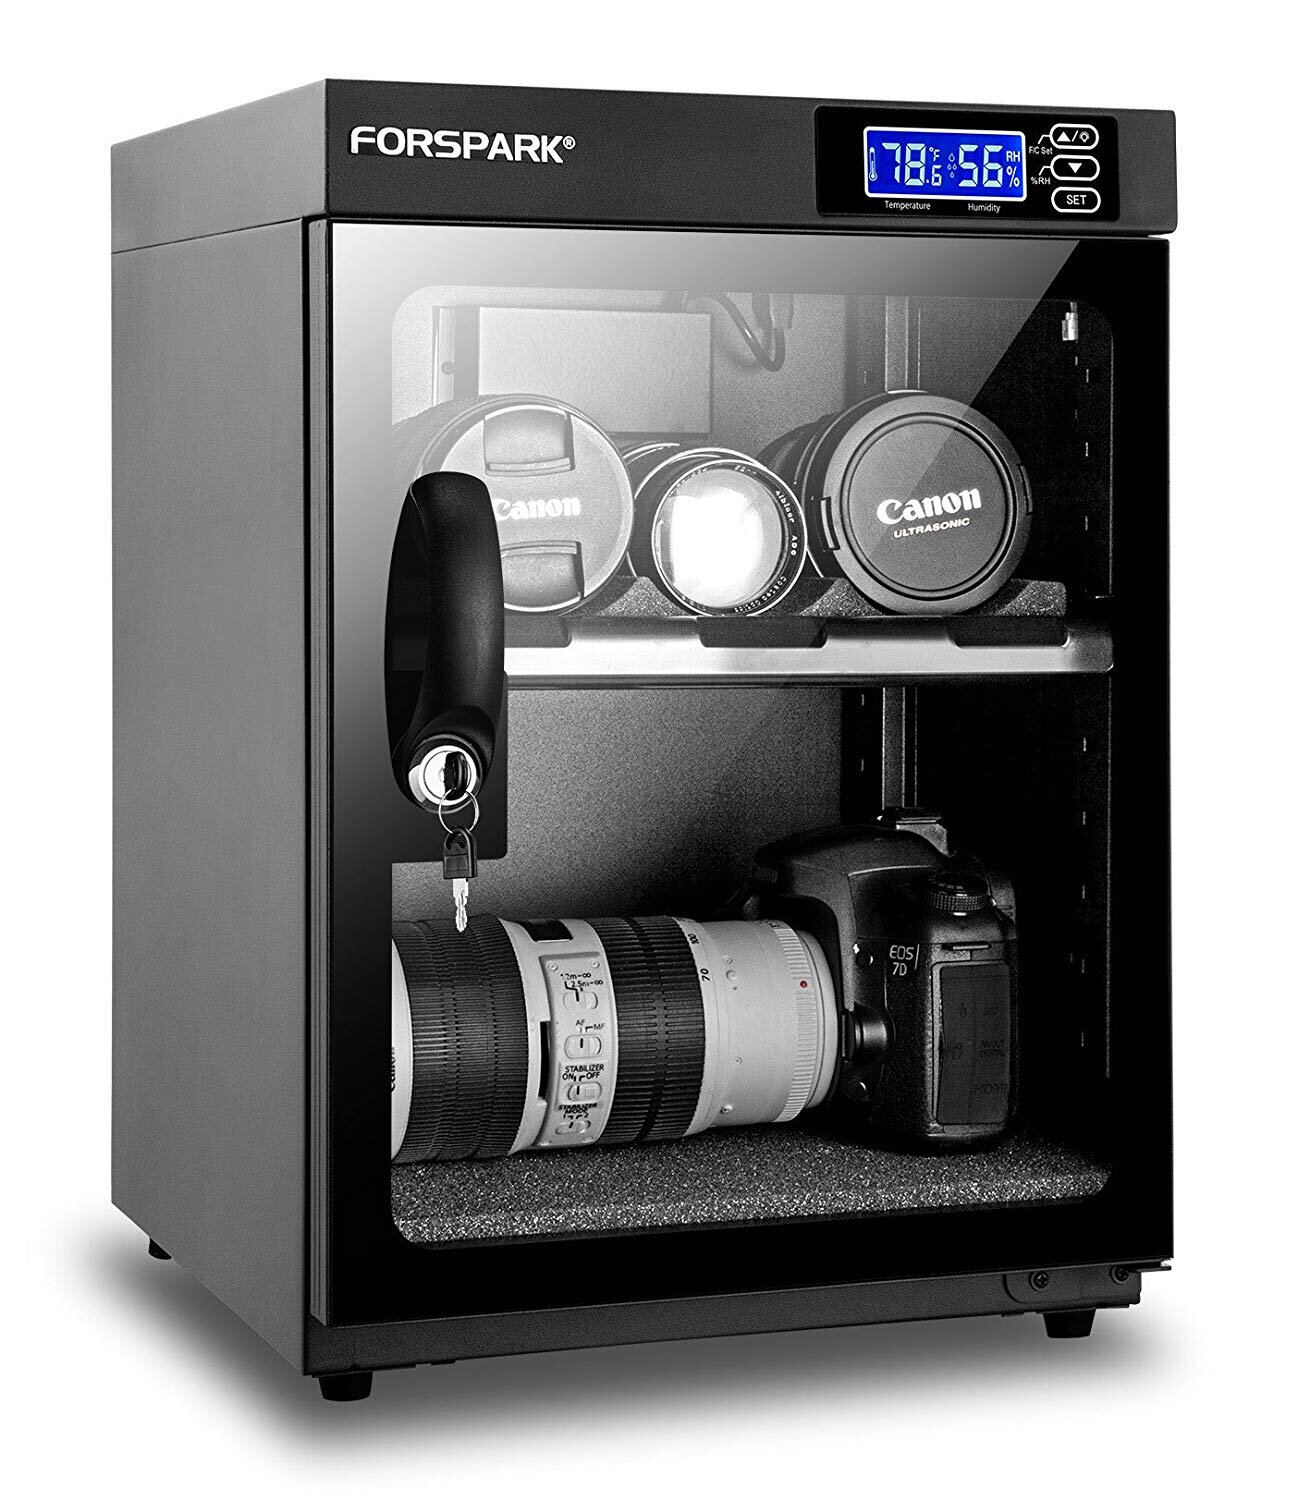
FORSPARK 30L Dry Cabinet Review: The Best Dry Cabinet Under $200
The 30L is the go-to dry cabinet for the amateur-turning-pro. These things can quickly become pricy, so if you’re not looking to protect a boatload worth of gear, the 30L is the better value (unless you’re looking to future proof). It’s also great for smaller spaces, like studio apartments or bedrooms.
You can fit two bodies and 8 lenses in the 30L. It’ll be a tight squeeze – and probably not as flashy as a larger case – but it’ll do the job.
FORSPARK 125L Dry Cabinet Review: The Best Dry Cabinet for Large Collections
With massive storage and adjustable shelving, the real beauty of the FORSPARK 125L dry cabinet is that you can pre-pack your camera bag with all the gear you use on shoots, toss it in the cabinet, and never worry about mold or fungus. For photographers who use their gear often, this size offers most efficient storage by a mile.
Plus — who doesn’t like the eye candy of seeing their bodies and lenses lined up in a glass case?
Note: these are the only two cabinets I’ve personally tried and feel comfortable recommending to our readers. The other sizes in the lineup should perform just as well, but I don’t know that first-hand. Choose wisely!
Are Dry Cabinets Really Worth It?
There’s nothing very exciting about dry cabinets, and dropping a few hundred dollars on something as preventative and practical as storage probably doesn’t thrill you.
But here’s the reality: dry cabinets are absolutely worth it, and I’ll prove it using numbers and an unfortunate anecdote.
While camera bodies depreciate relatively rapidly (anywhere from $200 to 800 a year), camera lenses hold value remarkably well. For instance, Fuji lenses have almost no depreciation factor. You can purchase a Fuji lens, keep it in good condition, and resell it in two years with almost no loss whatsoever.
However, a foggy front element, slugging autofocus, gummy aperture ring, or beaten-up housing can drop your value by half - or more. If your lens is in bad enough shape, it’s often not even worth it to resell.
Early on in my photography career, I invested in the Canon 5D Mark II and the Canon L Series of lenses. I traveled the world with them, moved cross-country, shot rock shows and in the desert, through tropical forests, and very often in the rain. The photos I got were well worth it. When I focused on other aspects of my career, they sat in storage for four years.

But I was young, stupid, and didn’t think to care for my gear like I should have. When I wanted to move on to the Fuji ecosystem (and boy, am I glad I did), I was only able to resell my moldy Canon lenses for 1/5th of the market rate. In other words, I lost over $3000. If I had invested in proper storage, I would have saved at least $2500.
Don’t make my mistake.
And if you can’t afford a dry cabinet, at the very least, store your gear responsibly in air-tight plastic bins and check on them regularly. You’ll be glad you did.


