Fuji Film Simulations: Best Recipes for Portraits, Street, Landscape, and More
Fuji film simulations recipes are more powerful than you know.
If you’re a Fuji shooter with any interest in SOOC jpgs, FujiXWeekly is the finest resource available. Ritchie Roesch has been compiling scores of custom film simulations that approximate film stocks – including stocks that went out of production decades ago.
In this write-up, I won’t be reinventing Ritchie’s wheel so much as signal boosting his great work in an easy-to-browse list, suggesting some tweaks to taste, and helping you decide which recipe is best suited for your shooting style.
The below film simulations will work with any X-series camera – that is, Fuji X-Pro 1 and 2, Fuji XT-1, 2, 3 and beyond, the X100F, the X-H1, and more. In other words, none of these will be based on exclusive simulations like Eterna, so you can read on confidently.

FUJI LENS REVIEWS
Fall in love with your Fuji camera all over again via our Fuji lens reviews: hands on, creative, and passionate.
But First: Why Bother with Fuji Film Simulations?
Look – I’ve never been a SOOC jpg guy. As a “serious photographer”, I took the post-process of editing as a given. I even pre-visualized my photos with whatever colors I would eventually pull or push out. Plus – the idea of a generic, one-size-fits-all camera ‘filter’ didn’t appeal to me one bit as someone who valued my own creative vision.
But Fuji’s film simulations aren’t just a filter you slap on. They’re unique to the Fuji ecosystem, endlessly customizable, and react in wildly different ways to different colors, light, tones and textures, and occasionally faithfully emulate classic film stocks. In the same way shooting analog with a roll of Porta, isn’t limiting or cheap, Fuji film simulations offer you stunning colors and tones without the sometimes-arduous process of editing – and there’s absolutely nothing stopping you from pushing the jpgs (or the RAWs) even further in Lightroom afterwards.
Lastly – and this was a hard pill for me to swallow, but I’m grateful I did – the time saved by having usable files the second after taking the shot can’t be understated. For me, the X100F is my walk-around camera, and being able to fire off a quick shot with the film simulations displaying in my live view – and then baked into my JPG – has made things far more fun.
Best All-Around Fuji Film Simulation: Kodacolor Recipe


Film Simulation Settings:
Classic Chrome
Dynamic Range: DR400
Highlight: -1
Shadow: +2
Color: -2
Sharpening: +2
Noise Reduction: -4
Grain: Weak
White Balance: 6300K, -1 Red & -4 Blue
Exposure Compensation: +2/3 to + 1-1/3 (typically)
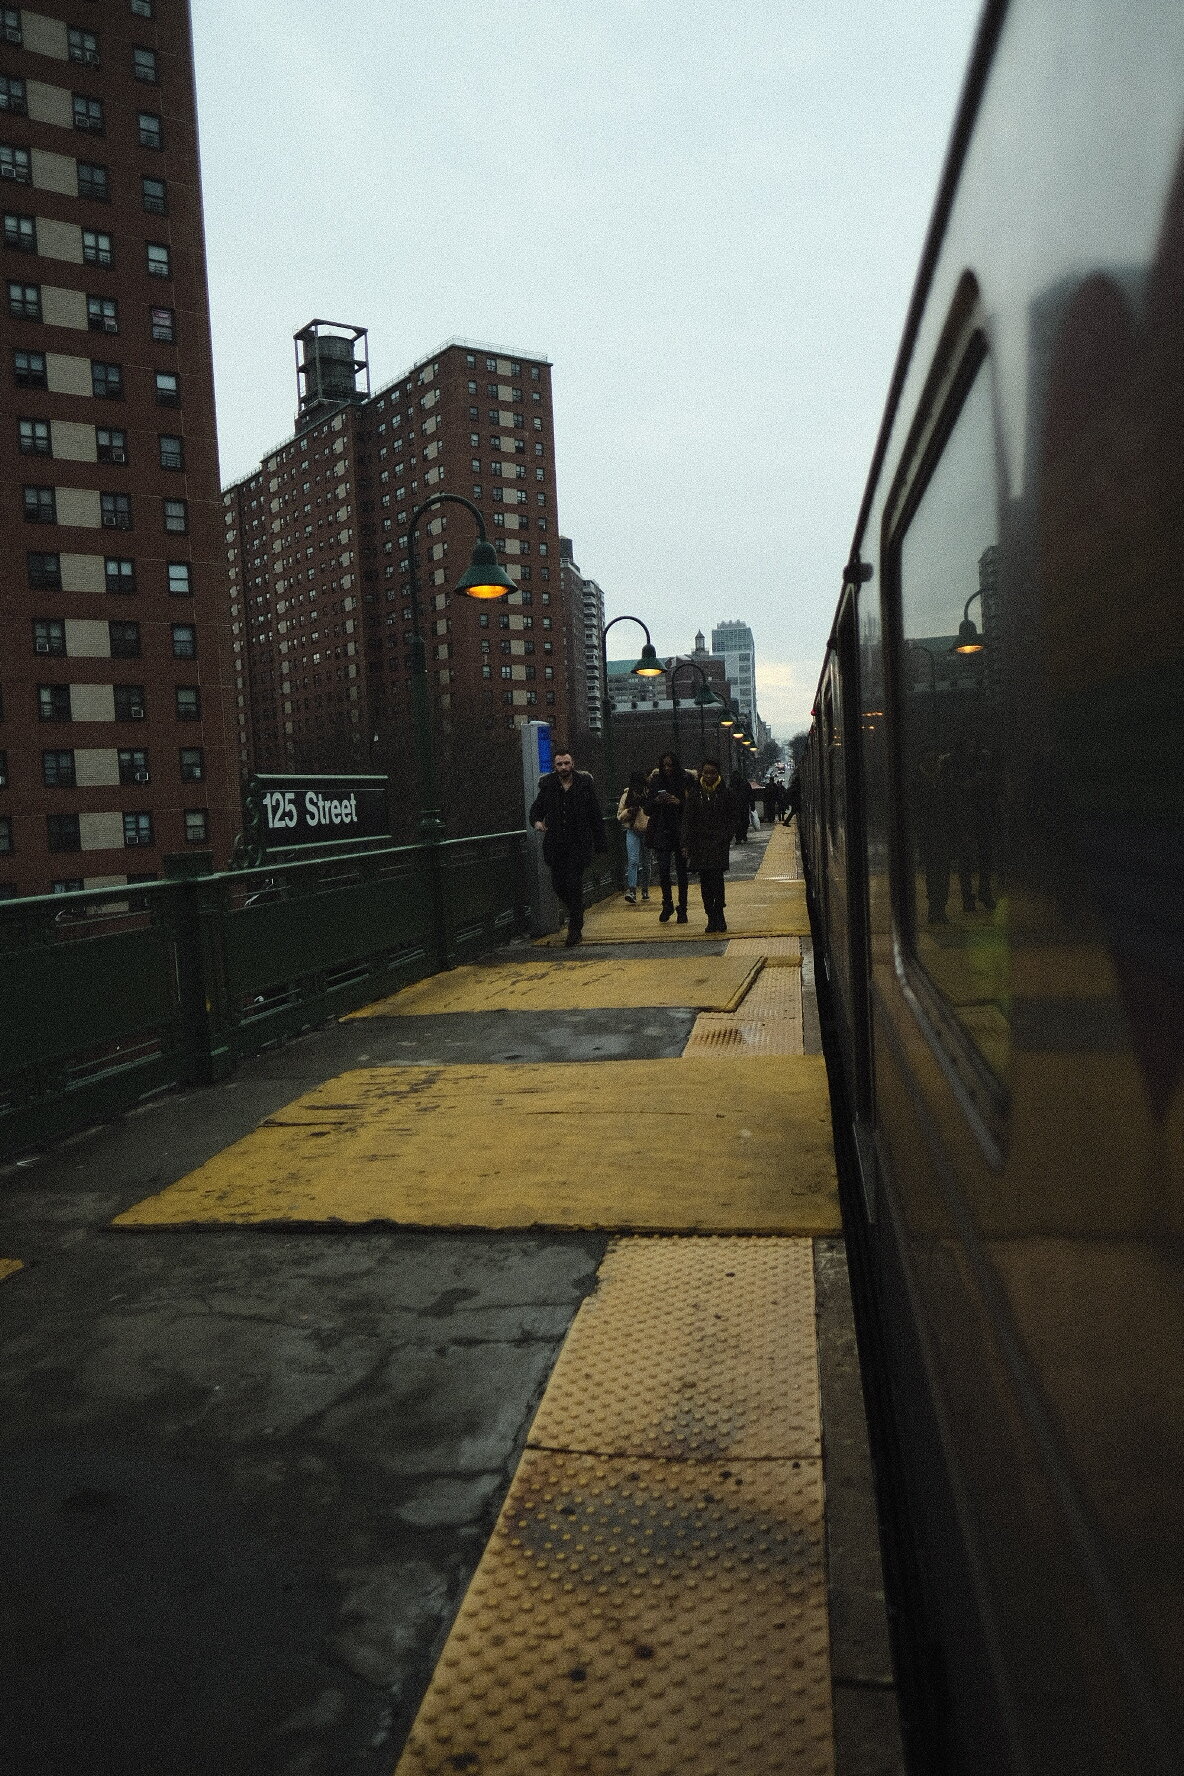
This film simulation is my go-to. It gives you a satisfying ‘snap’ in the contrast, particularly in the shadows and blacks, but it doesn’t obliterate shadow detail like the default Classic Chrome.
It plays great in daylight – muted blue skies look eventually vintage and clipped highlights bloom softly instead of a sharp transition to harsh whites – and at night, thanks to the yellow-leaning white balance and grain against artificial lighting and higher ISOs, you get a warm, fuzzy look instead of a pushed-too-far digital feel.
Note though that this is not a saturated, color-forward recipe. If your usual shooting style leans vivid and bright, Kodacolor likely won’t be to your taste.

Best Street Fuji Film Simulation: Urban Vintage Chrome Recipe
Film Simulation Settings:
Classic Chrome
Dynamic Range: DR200
Highlight: 0
Shadow: +2
Color: -4
Sharpening: 0
Noise Reduction: -4
Grain: Weak
White Balance: 4300K, -1 Red & -3 Blue
Exposure Compensation: +2/3 to + 1-1/3 (typically)
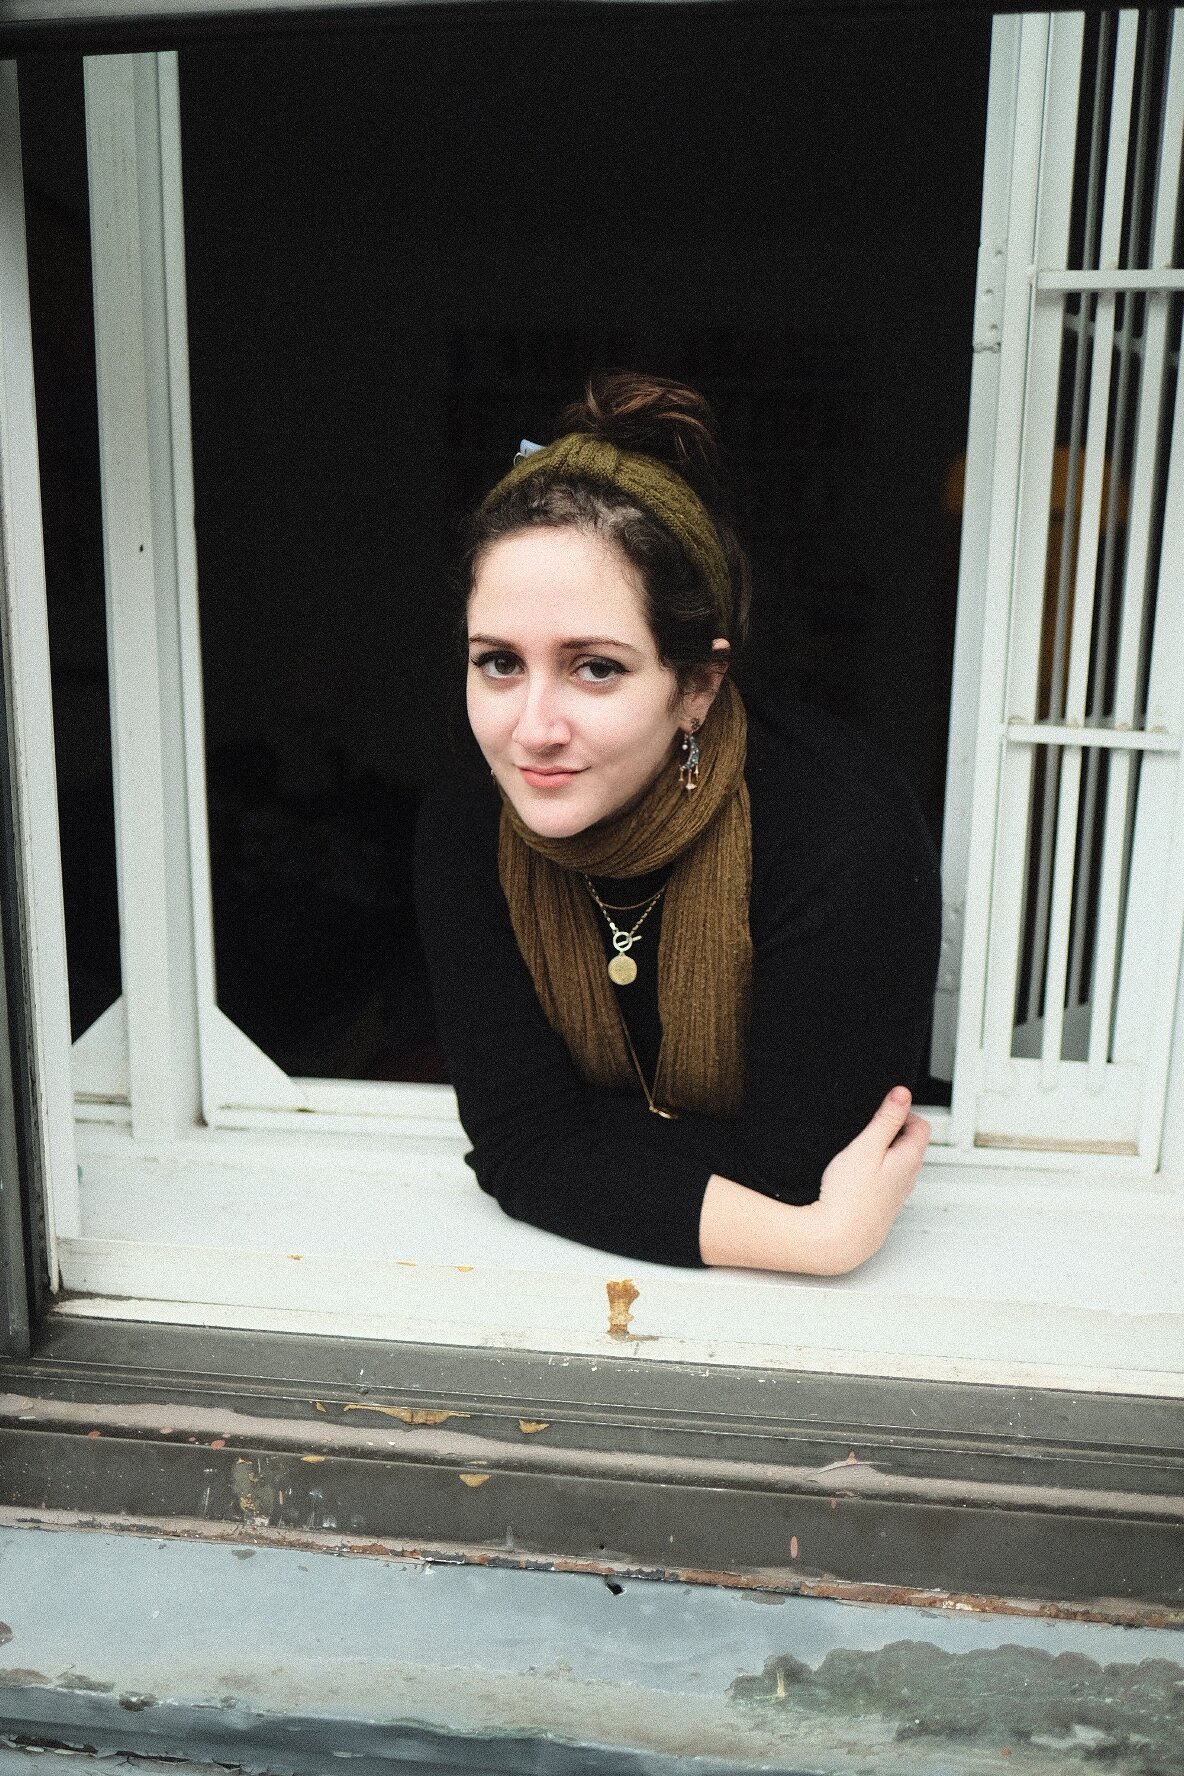
Ideal for an industrial, alien feel, these settings give a look somewhere between vintage, contemporary, and futuristic – think palewave Petra Collins. Because it’s so cool and desaturated, it works great for toning down vibrant blue skies, enhancing the texture of metals and concrete, and highlighting composition over color.
It should be noted that this Fuji recipe can do some pretty strange things to skin tones. In certain contexts or editorials built around the cool grey look, this can be fairly striking. For random snap shots, probably less so. Use this recipe wisely!


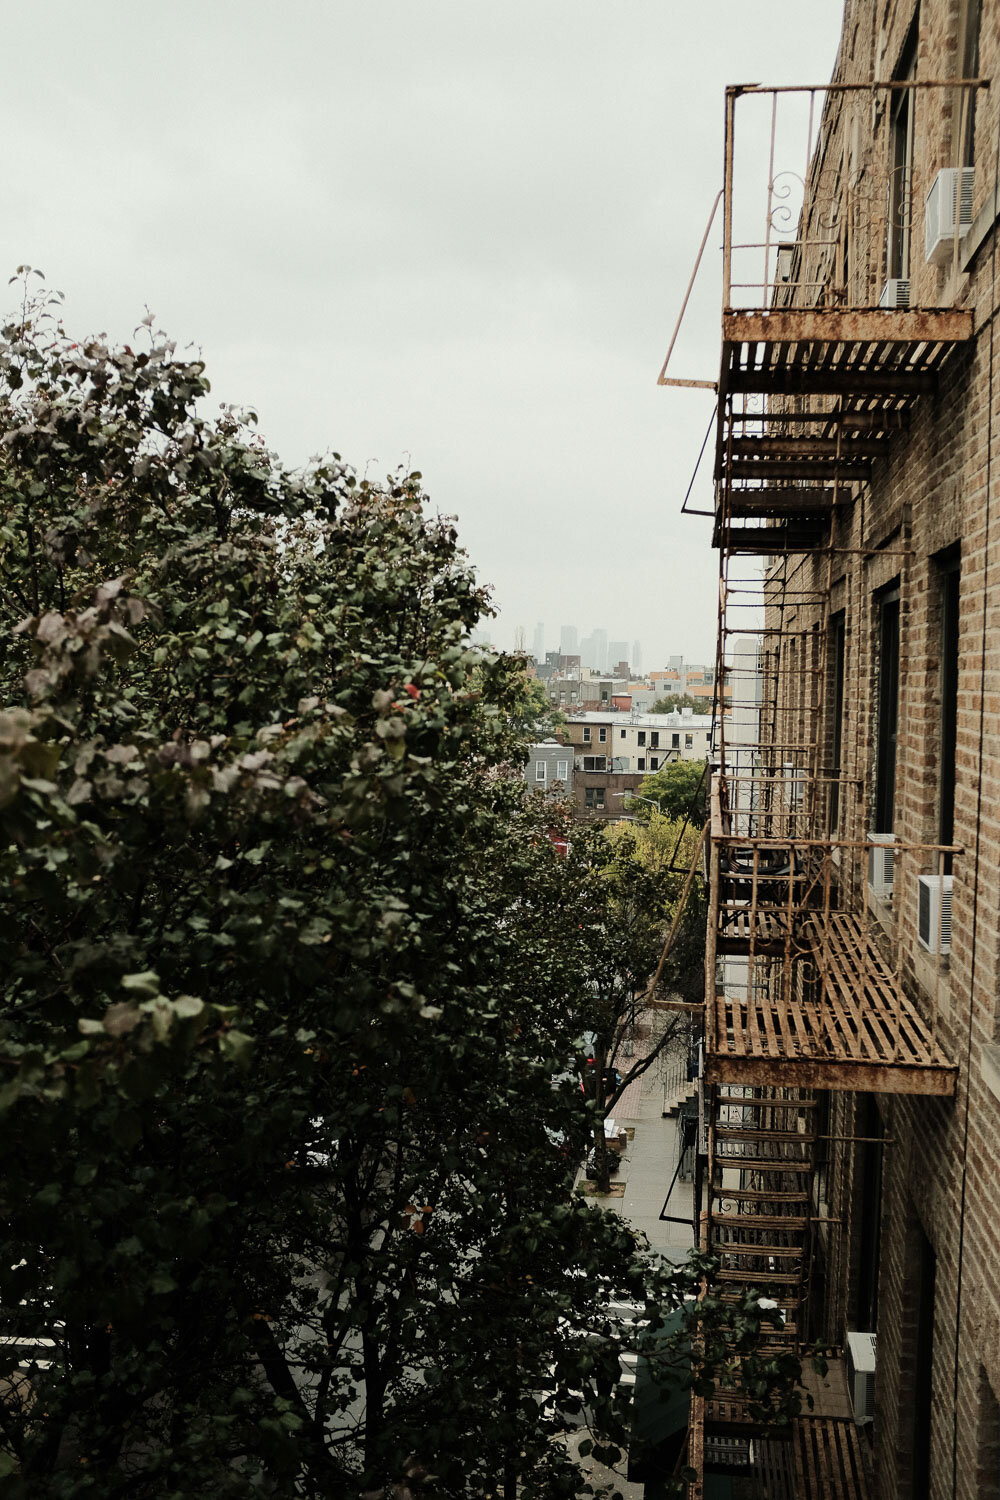
Best Fuji Film Simulation for Landscape: Kodak Ektar 100 Recipe

Film Simulation Settings:
Classic Chrome
Dynamic Range: DR200
Highlight: +1
Shadow: +2
Color: -+4
Sharpening: 1
Noise Reduction: -3
Grain: None
White Balance: Auto, +3 Red & -1 Blue
Exposure Compensation: -2/3 (typically)
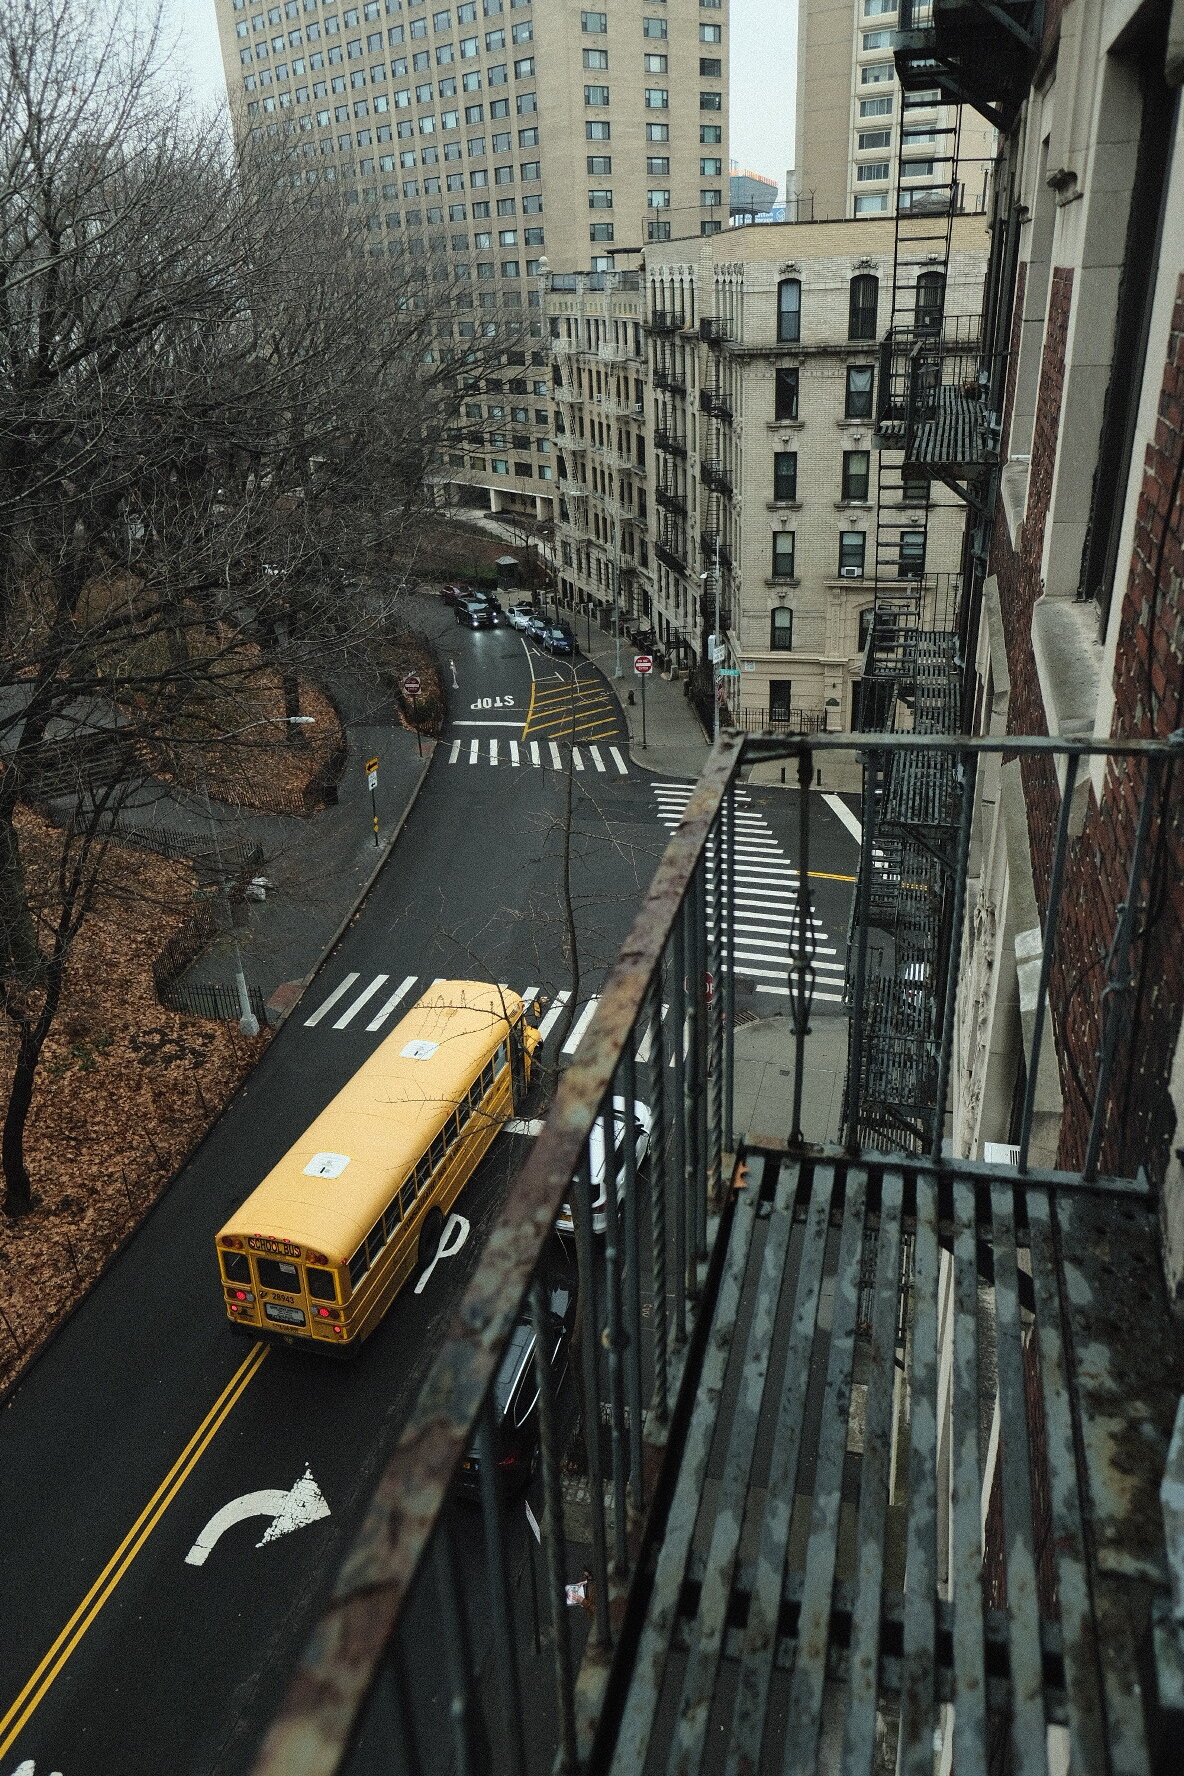
This medium-contrast, ultra-saturated simulation plays gorgeously with warmer tones, and it’s a great way to gloss your images with a 70’s-feeling fuzz without sacrificing immediate visual impact by washing out the black tones. The Ektachrome simulation is ideal for rich, warm landscapes, 90’s-throwback portraiture, or any time you want to breathe life back into super-flat lighting.
One thing to be aware of when using this recipe is that it’s a very different beast in high-contrast settings like a high-noon sun than it is on an overcast day. The images featured here were taken on a rainy photowalk, but if you’re interested in using this simulation in broad daylight, you may want to bump down the Color setting by one notch to prevent every color from becoming over-saturated.


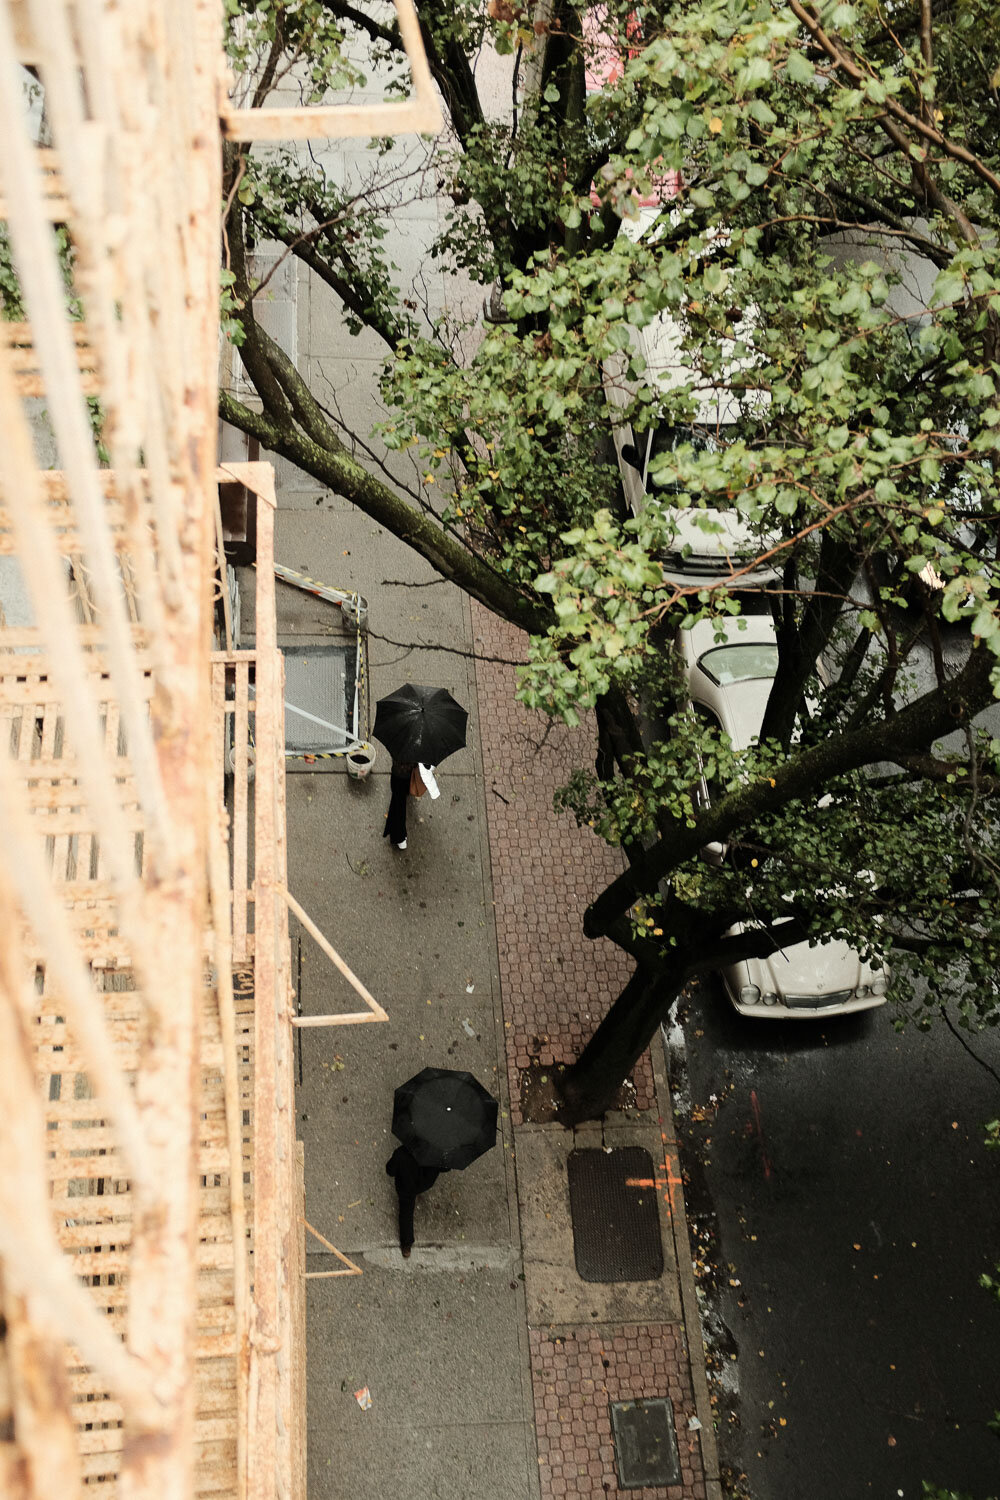
Best Fuji Film Simulation for a Rainy Day: Fuji Superia 800 Recipe
Film Simulation Settings:
PRO Neg. Std
Dynamic Range: DR200
Highlight: +1
Shadow: +2
Color: +4
Sharpening: 1
Noise Reduction: -3
Grain: Strong
White Balance: Auto, -2 Red & -3 Blue
Exposure Compensation: -2/3 (typically)
This recipe faithfully emulates the green fuzz of the original Superia 800 filmstock, giving special love to yellow and skin tones. Blacks are crushed, muted, and slightly lifted for a warm analog feel, and grain is pushed to the max to smooth out any harsh digital luminosity transitions.
The exposure compensation on this film simulation matters more than most. Overexposure gives you a bright, air, desaturated feel, whereas darker photographs become ultra-moody. This simulation tends to break down a bit in artificial lighting, so plan to leverage soft daylight if possible.