

Lightroom Highlights vs Whites, Blacks vs Shadows – And When to Use Them
Lightroom is user-friendly – except when it isn't. What exactly is the difference between Highlights and Whites or Shadows and Blacks? Read on to find out.
Traditional wisdom, tracing back to Ansel Adams, suggests that an ideal photograph will have a point of 'true white' – meaning pure, blank white – and 'true black' – pure, pitch black – to fully encapsulate dynamic range and prevent flatness in your composition.
This is a powerful concept for formalist photographers or those looking to capture the highest possible amount of dynamic range in their image.
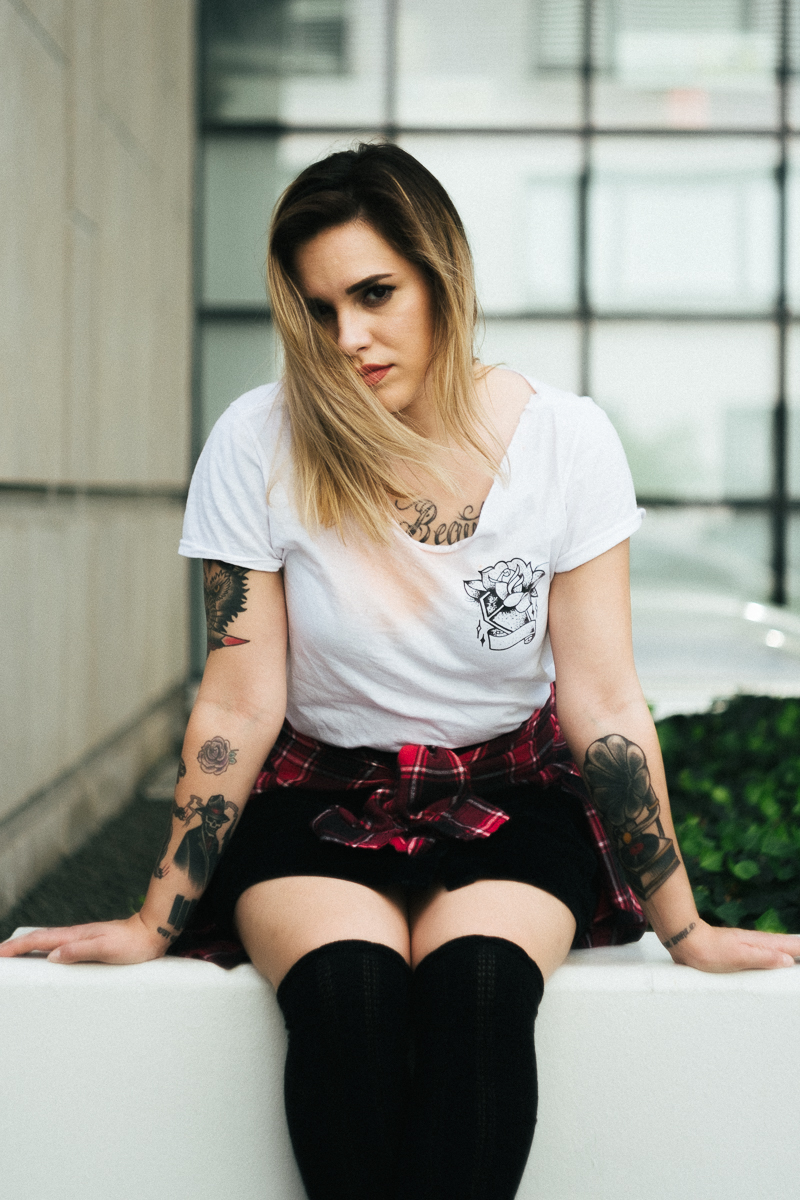
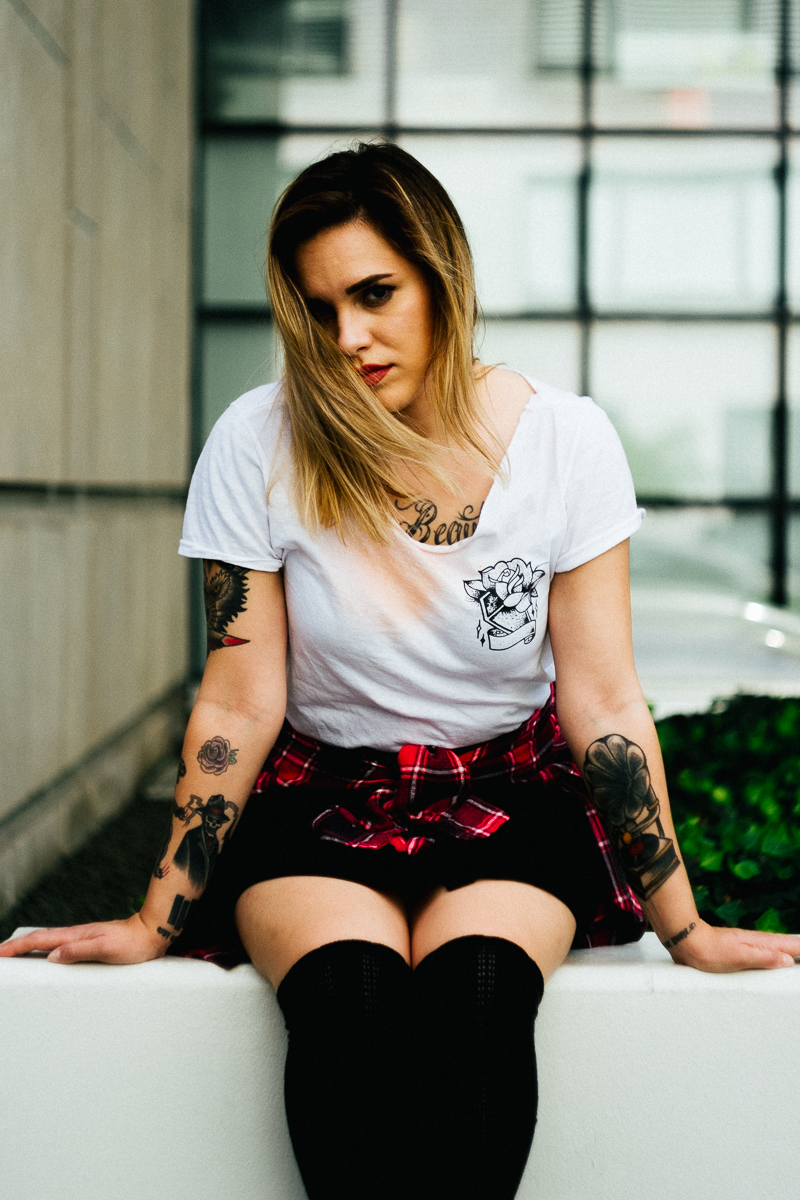
Alisa in Central Park. Fuji X-Pro 2, Helios 44-4.
Although contemporary colorists tend to lift the black point above 'true black' for that fuzzy, faded look and color the white point for a nostalgic tint, the concept of 'true' values will help you understand the subtle difference between the Lightroom sliders.
Now, hitting true black and true white in-camera is quite risky. If you don't expose your image perfectly, you'll never recover the visual information you may have clipped.
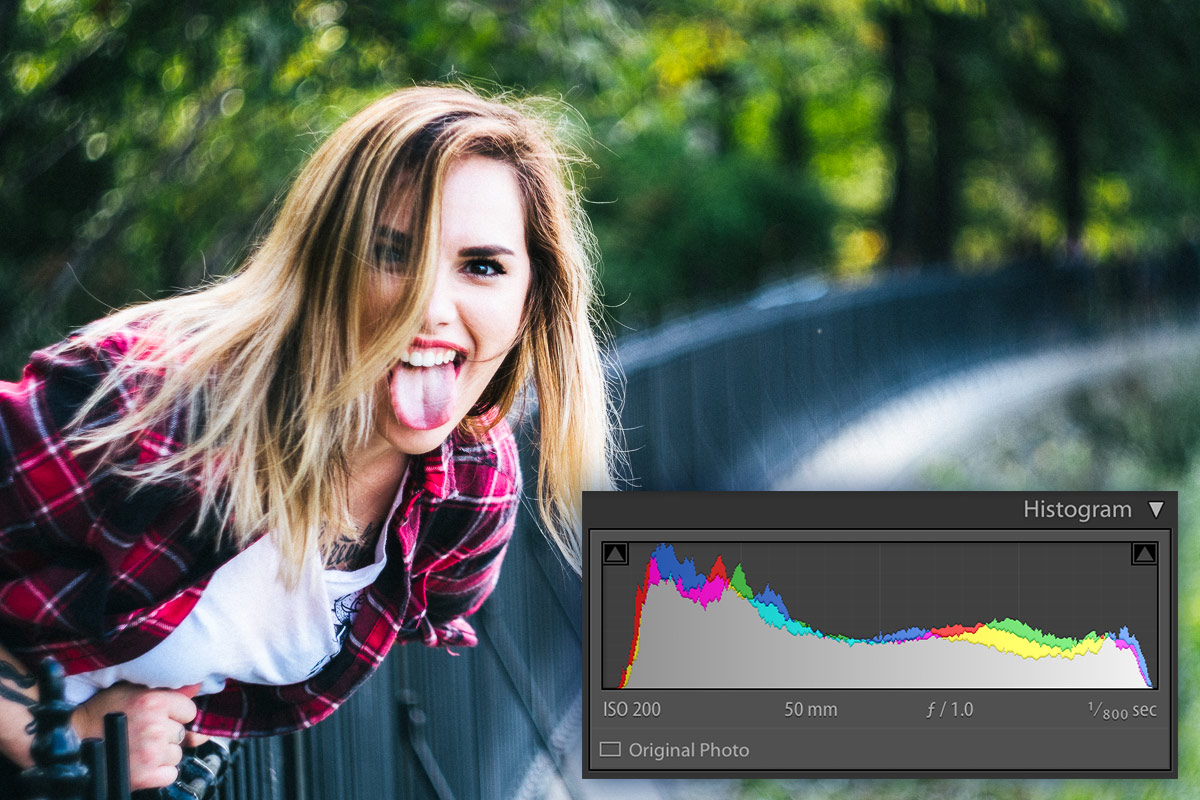
In the age of digital photography, the best practice is to leave some buffer room in your histogram (Note: Need a quick brush-up on histograms? Click here) by slightly over exposing the black point and under exposing the white point. Your photo may look slightly flat in-camera, but luckily, we have a way to fix that...
The White, Highlight, Black, and Shadow sliders in Lightroom.
Lightroom's White Slider
The White slider dictates the absolute brightest value of your image.
This is where Ansel Adam's lesson of a 'true white' comes back in to play. If your photo was underexposed in-camera, you can remedy the dullness by moving the White slider to the right until you hit the right edge of the histogram. Having a 'true white' point gives your image a strong 'pop' and ensures that you've maximized the dynamic range of your composition.
It should be a deliberate stylistic decision to set the white point below 'true white'.
If your image still isn't bright enough with a +100 White slider, you can use the Exposure slider to blast your image with light values – usually at the expense of noisy shadows or clipped highlights.
Lightroom's Highlight Slider
The Highlight slider adjusts the bright values in your photograph. The true utility of the Highlight slider is to recover lost detail in the brightest parts of your image or to globally brighten your image without pushing your exposure past the white point.
It's important to note that the Highlight slider will only modify brightness values within the boundaries set by the White slider. Even at +100, the Highlight slider will never push bright pixels past the white point sent by the White slider. Because of this relationship, it's best to set your white point with the White slider before you adjust your Highlight slider.
Let's look at a quick example by pushing the sliders up to +100.
Below, we see a Fuji X-Pro 2 and Helios 44-4 shot. From left to right, these images have been set at +0 Highlight +0 White, +100 Highlight +0 White, and +0 Highlight +100 White.
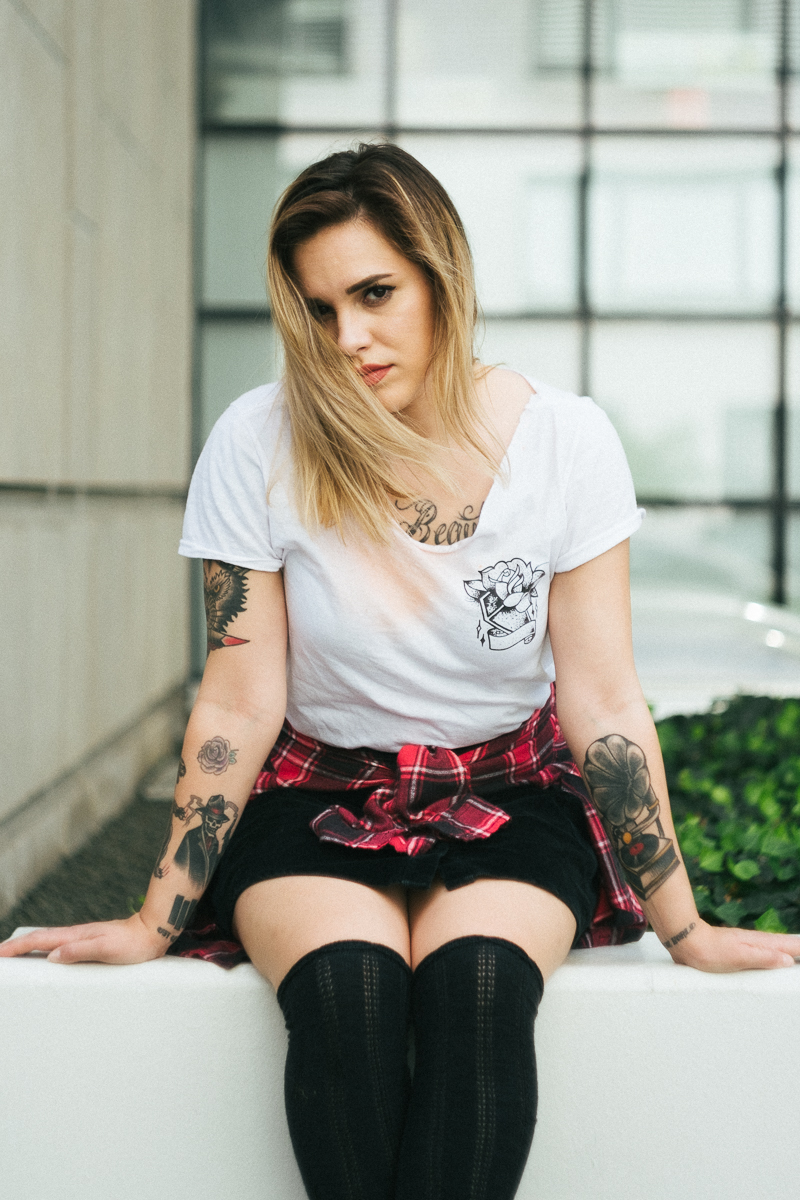
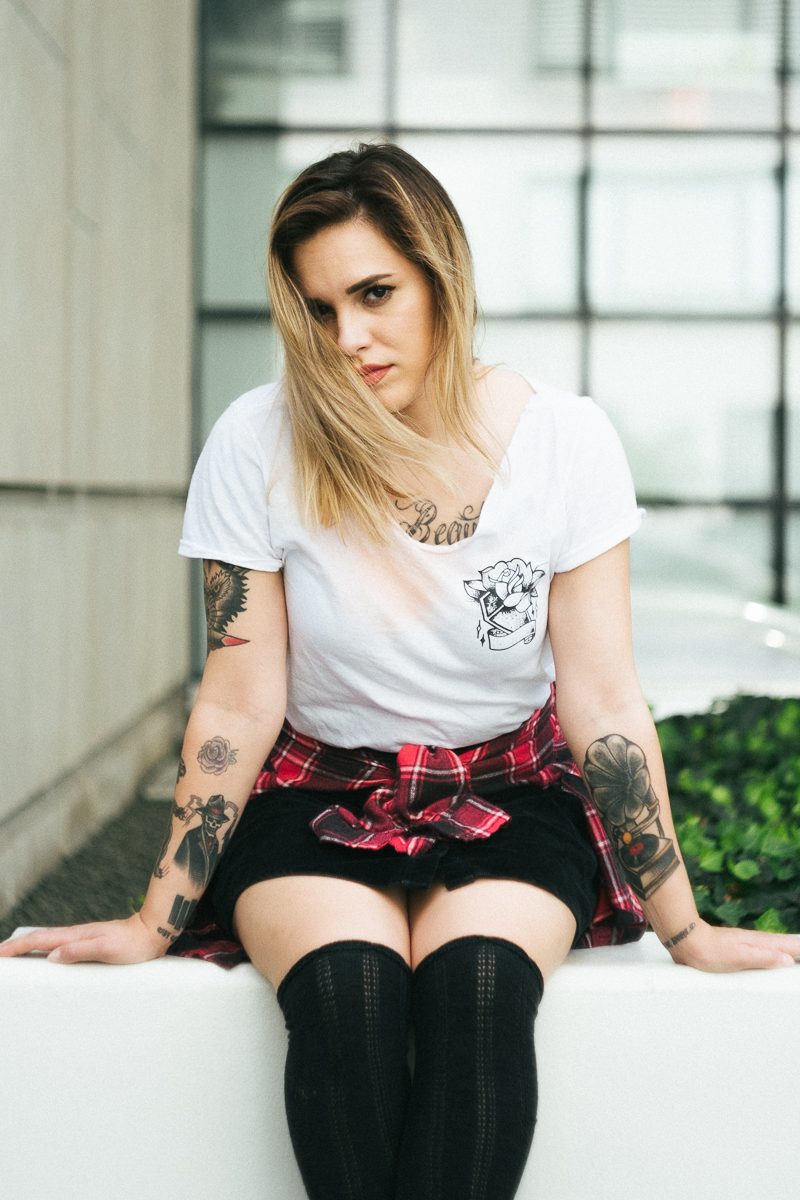

From left to right: +0 highlights/+0 whites, +100 highlights/+0 whites, +0 highlights/+100 whites. Photographed with Fuji X-Pro 2, Helios 44-4.
We can better see the effect of the sliders on the corresponding histograms. Note the difference +100 Highlight histogram and the +100 White histogram. Note also the similarities between the unedited histogram and the +100 Highlight histogram. We get a better idea of the subtlety of the Highlight slider and the power of the White slider.
Because this image was properly exposed with a white point close to – but below – 'true white', we see that the +100 Highlight slider nudges only the bright values. The lightest parts of the image have been brightened: the brightest points on the forehead, thighs, shirt, and concrete tip towards pure white, but the left half of the histogram is relatively preserved. Meanwhile, the +100 White slider pushes the white point past 'true white' and begins to blast the detail out of the highlights, distorting the entire histogram.
Lightroom's Black Slider
The Black slider is the sister of the White slider. It sets the 'true black' point of your image. Tweaking this slider to the left can darken almost all of the values in your image and crunch the shadow detail in to pure black. Push it to the right and you 'lift' your blacks, creating the Instagram-ready filmic look commonly described as a 'fade'.
The Black slider is just as destructive as the White slider, if not moreso. Be especially cautious when lowering the Black slider: the algorithm that defines the values it touches is heavy-handed, particularly when dealing with skin tones.
Lightroom's Shadow Slider
Similarly to the Highlight slider, the Shadow slider's impact is defined by the 'true black' point set by the Black slider. It's ideal to boost underexposed areas of your image, or to bring structure and contrast back in to a washed out, hazy image.
The Shadow slider, pushed to the right or left, isn't destructive to a properly exposed image. However, if your histogram is weighted towards the left side, it's possible for the Shadow slider to modify a majority of the values in your image – yet another reason to properly expose your image in-camera!
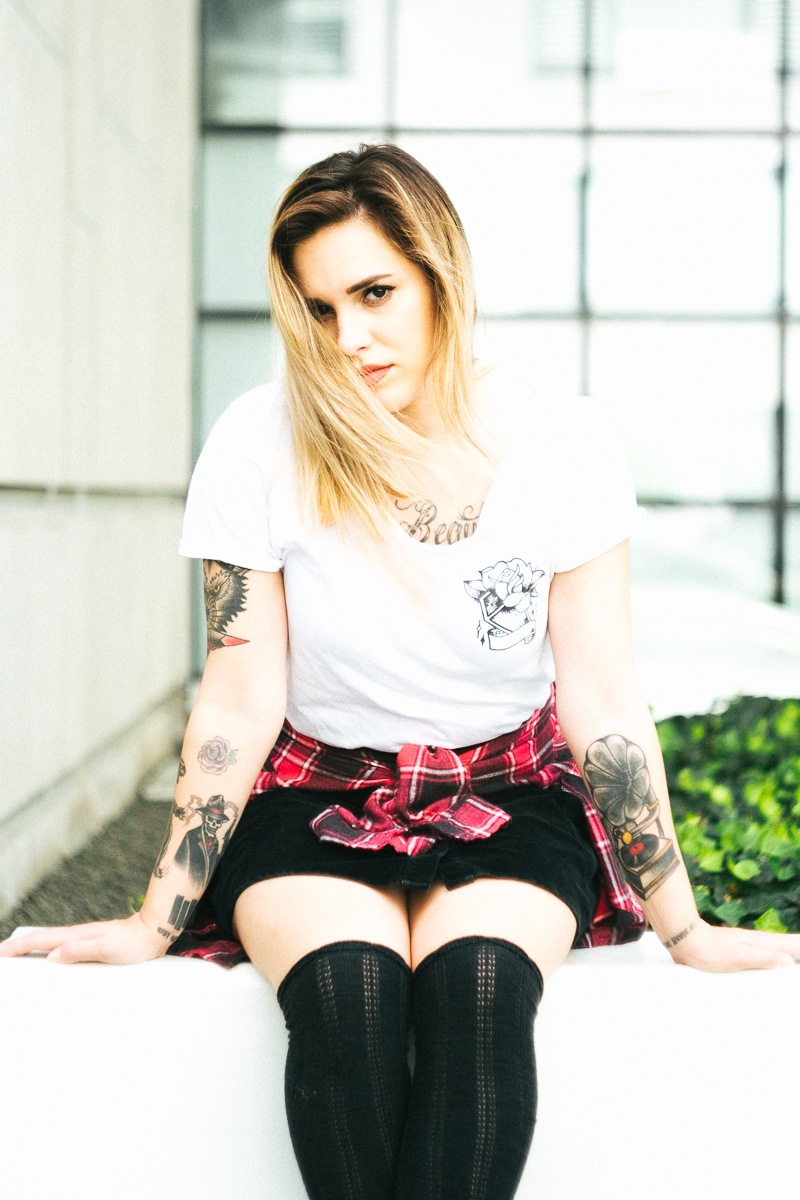
Let's revisit the above example with reset Highlight/White sliders and +0 shadows +0 black, -100 shadows +0 black, and +0 shadows and -100 black sliders.


From left to right: +0 Shadows/+0 Blacks, -100 Shadows/+0 Blacks, +0 Shadows/-100 Blacks. Photographed with Fuji X-Pro 2, Helios 44-4.
Similarly to the White vs Highlight comparison, we see that a -100 Shadow slider subtly crunches the darker values within the constraints set by the 'true black' point, keeping the integrity of the darker values and leaving the right side of the histogram largely untouched. Meanwhile, the Black slider has crunched and shifted the entire histogram, reducing the luminosity in the brightest values.
Note also the difference of information in the left side of the histogram between the -100 Shadow and -100 Black histogram: the -100 Black histogram crunches the dark information in to one thin value, while the -100 Shadow histogram retains the color information in the darkest areas.
When to Use Highlight, White, Shadow, and Black Sliders
Now that we've ran through theory, data, and examples, let's talk about the takeaway.
- Step 1: Use the White slider to set the brightest point in your image.
- Step 2: Lower the Highlight slider to recover detail in too-bright areas. Raise the Highlight slider to lift the overall brightness of your image.
- Step 3: Use the Black slider to set the darkest point of your image.
- Step 4: Raise the Shadow slider to recover detail in too-dark areas. Lower the Shadow slider to bring structure and contrast back in to your image.
PS: Want a pro-tip applicable to all four sliders? Hold the Alt or Option key while dragging the slider to prevent clipping the white or black values in your photo
Once you've perfected your edit in Lightroom, be sure that your image export doesn't get eaten up by Instagram. Read our Instagram export tutorial to find out how.

